Since I’m still rebuilding the top, I thought I would share with you how I make lift templates. The process is cheap, simple, accurate, & works for both insert plates & lifts.
Step one – Cut two large pieces of MDF to the same size, the pieces I used where 18″ wide by 24″ long.
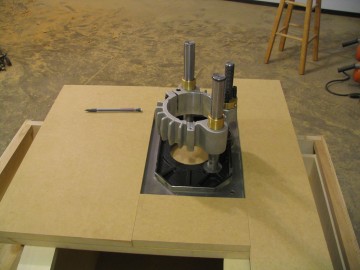
Step two – Place your lift, on one of the pieces of MDF, and then carefully align it. Once the lift is aligned to the edges, carefully surround it with scrap pieces of MDF. To hold the scrap in place use double sided tape. Take your time during this step, you want absolutely no gaps around the lift.
Continue Reading…
Last time, I demonstrated how to make templates for routing the recess for a lift plate. In this post, I’ll demonstrate how to use those templates to rout the recess.
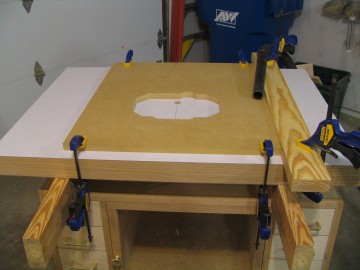
Step one – Align the through hole template, and drill a starter hole all the way through the top. To ensure good alignment, I clamped a jointed 2×4 perpendicular to the front of the top, this gave me two good edges to reference the templates off of.
 Continue Reading…
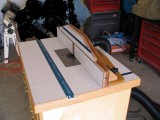
I haven’t had much time to work in the shop over the last two weeks, but I’ve made some progress, I’ve managed to finish off the top & I’m partway done with the fence. Hopefully by this weekend I will have the fence done, and be ready to apply a finish.
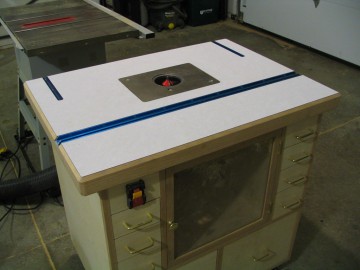
Construction is finally done. Ok, It’s not completely done, but finishing and electrical will be a piece of cake compared to construction of the cabinet. I won’t be able to do any finishing this weekend, but hopefully by the end of next week This project will be complete, so I can move onto some simpler projects.
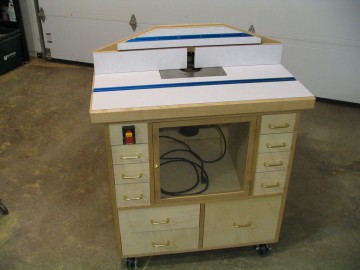
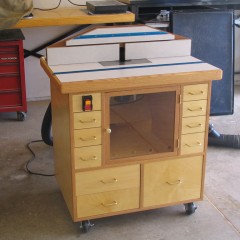
It’s finally done…
When I first started this project, I thought I would be done in a month. Now 6 months later, I don’t know where all the time went. I lost a week to a neck injury, but other than that I’ve worked on this project 10 to 15 hours every week. Either I work a lot slower than I think I do, or Norm has some magic tool to warp time.
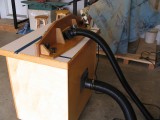
All kidding aside, I’m really pleased with the results. I’ve gained additional storage space (always a plus in a small shop), and a valuable tool that I’m sure will be make many of my future projects much easier and pleasurable. And now it’s time for the obligatory final photos.

