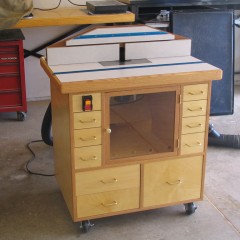
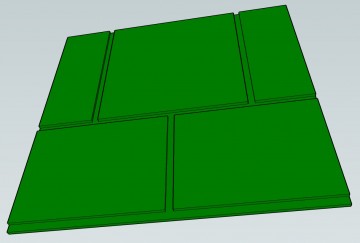
For the last two weeks I have been designing my next big project, a router table based on the NYW deluxe router station. I’m making several changes to the plans, The biggest one being that my router station needs to be mobile, so it’s designed to rest on 3″ casters. I’m also changing the bit drawer sizes, I sized the two bottom drawers to hold the longest 1/2″ bits Freud sells (4-3/4″), The top 4 drawers are sized to hold normal length 1/2″ bits, and long 1/4″ bits. The only other change worth noting, is how the back is attached. Norm used biscuits to attach the back, I’m going to use dado’s. Unfortunately since my design is based so closely on Norm’s commercially available plans I can’t post the Sketchup file, but I can post a screen shots of it. Hopefully I will have the design finished by the end of the year, and be able to start construction in early January.
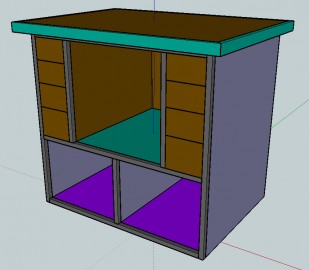
My design about 90% done.
It’s been really cold outside and in the shop so I haven’t made much progress on the router table, other than rough cutting a few of the major components to size. Since my Bench dog lift arrived on Monday, I was able to get dimensions off of it, so I could complete the table design (seen below). I think I might need to add some bracing under the top to support the lift, as it’s a lot heavier than I expected (22 lbs. without the router mounted).
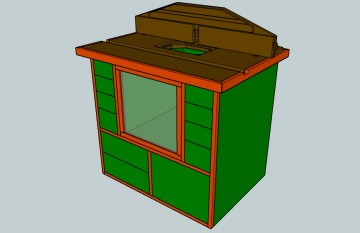
The cold snap we had here last week, brought this project to a dead stop for a few days. Thankfully the mercury has climbed above freezing again, and I was able to finish rough cutting everything to size last night except for the cabinet sides. As soon as the local wood shop gets the 3/4″ plywood in I ordered (I need it for the cabinet sides), I’ll start assembling the carcass. In the mean time, I’m going to check if my table saw is out of alignment, because I got a significant amount of burning on rip cuts last night. This usually indicates that the blade is no longer parallel to the miter slots.
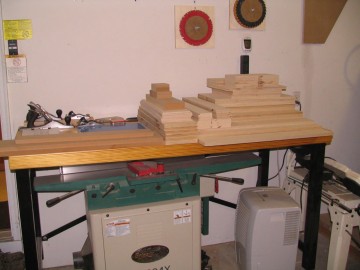
Five sheets of plywood really doesn't look like much after you cut it up.
On Friday, the plywood I ordered finally arrived, so construction has commenced. As I mentioned in an earlier post, the main differences between my table and Norm’s are the joints. He’s well known for his use of screws & biscuits. For example he used biscuits to join the case back to the sides and internal dividers, and well I find this method substandard. I chose to use dados, but as you can see below this leads to a scenario where 3 stopped dados intersect with a 4th dado.
Normally stopped dados have to be cleaned up with a chisel, but since these intersect with another dado, a router equipped with a special template bit can do the clean up faster than anyone could do by hand. Check out the following photos you’ll see what I mean.
Continue Reading…
I started assembling the carcase last Wednesday, and finished up this weekend. At first I thought I would have it done in a day, but I always seem to underestimate how much time waiting for glue to dry consumes. It was worth it though, because if I knock on any of the panels I get a nice hollow ringing sound (signifies sound joints). I must admit, that at first I was a worried about the carcase assembly, because I don’t have a lot of casework under my belt. In the end, it was very strait forward an uneventful, because I took the time to do two separate dry fits.
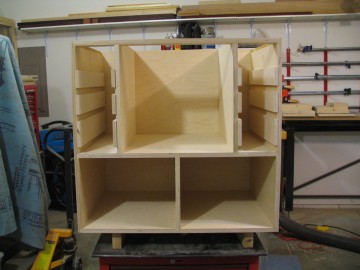
Assembled Carcase
Sunday on the other hand was far from enjoyable. I learned two things Sunday afternoon that I won’t soon forget. One, no retail store (around me) carries drill bits sized in 32nds above 1/2″. I was to lowes, Menards, Home Depot, Farm & Fleet, Ace, True Value, even my local Rockler store, and none of them carry 17/32″ bits, let alone a brad point. Two, who ever decided router bit shancks should be 1/4″ & 1/2″ in diameter should be slapped across the back of the head. Imo they should have been 15/64″ & 31/64″, that way You could use 1/4″ & 1/2″ drill bits to make holes to hold them.

