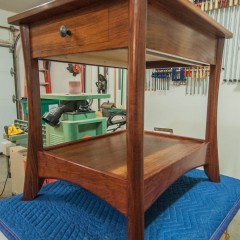
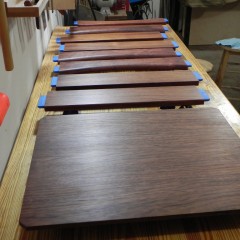
I haven’t posted in a while, but with summer almost here, I’m finally able to spend a lot more time in the shop. After thinking about it for longer than I want to admit to, I’ve decided to pre-finish as many components as I can. My main reason is because the the bottom panel is hardwood and not plywood and thus will move with the seasons. I don’t want witness lines , and the only way to avoid that is to pre-finishing.
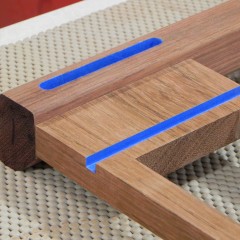
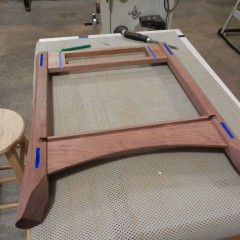
While pre-finishing will guarantee the tables look good, it means I had to tape off all the mortise, tenons and dados. I’ve coated everything with a coat of boiled linseed oil, & I’ve started applying my wiping varnish. If my tests are representative, it will take about a week and a half to apply the finish, because it will require 8 coats. While some people will scoff at finishing taking that long, I think the quality of the final finish is definitely worth it.
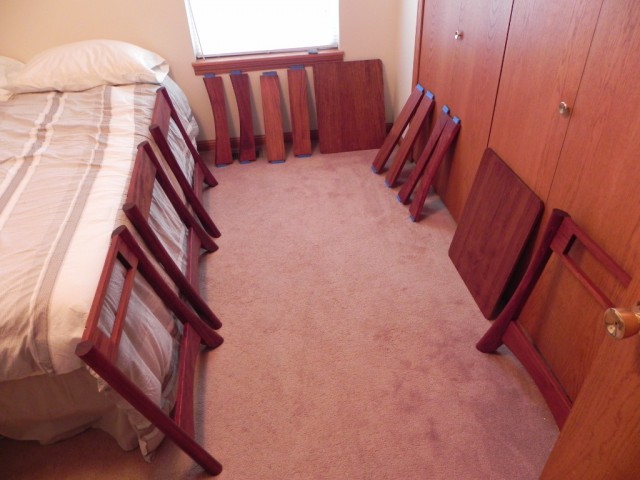
It took a lot long that I thought it would, But i now have all the legs and aprons finished. For now they’ll set in my spare bedroom drying until I’m ready to assemble them.
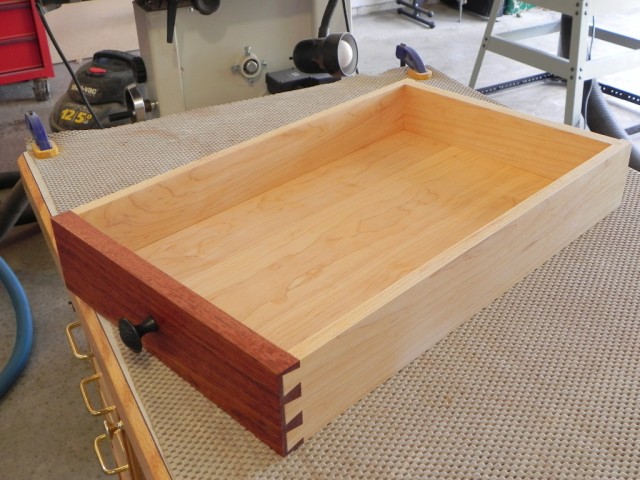
With the main carcasses glued up and finished, it’s time to work on the drawers. The drawer sides aand back are Hard Maple and the front is obviously Jatoba. Sticking to my no plywood philosophy, The drawer bottoms are also made from Hard Maple, and are 1/4″ thick. These are light duty drawers, so the bottoms don’t need to be that thick.
The band-saw made short work of resewing 4/4 stock in half. I didn’t decide to cut saw thinner panels, because the boards moved a lot, and I just barely got them all to come in at 1/4 thick. I probably should have picked boards with straighter grain, but this is all my local supplier had. I decided to use half blind dovetails in the front, and a simple dado in the back. I originally planed on using through dovetails in the back, but ultimately decided it wasn’t worth the effort, since almost no one will ever see the joint. I hope to glue up the drawers and get some finish on them this week, so stay tuned.
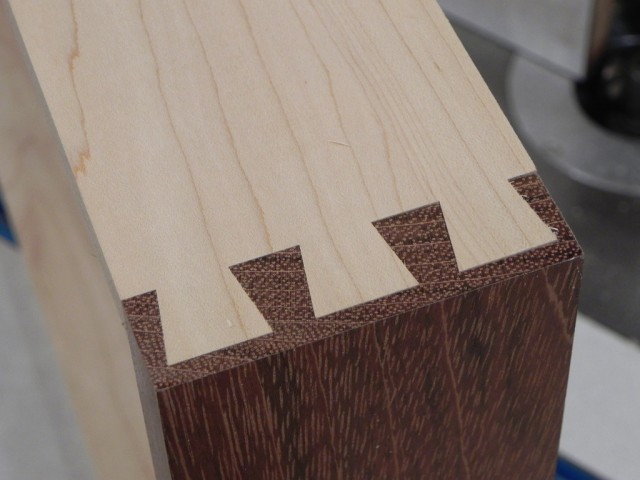
Lovely contrast between the two species.
Simple really is the best way some times.
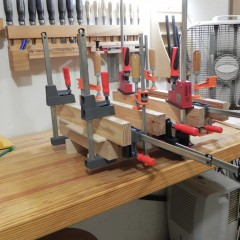
I need more small clamps.
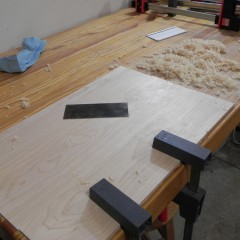
Scrapping the glue lines flush.
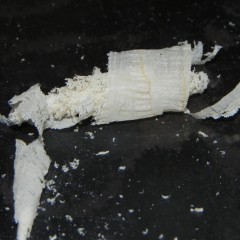
Now that's a shaving.
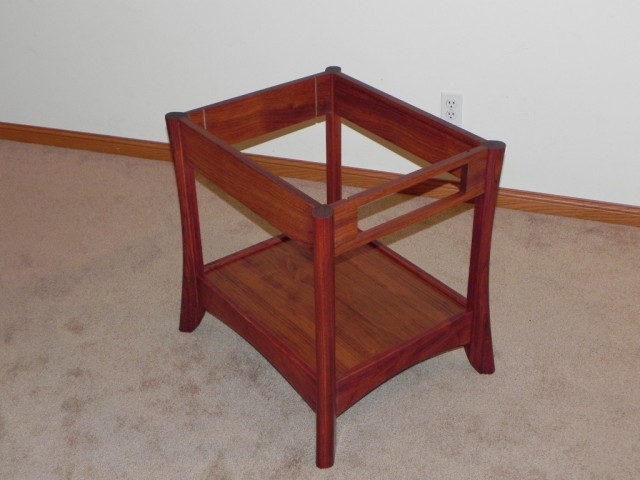
The glued up & finished carcass.
It took a little longer than I thought it would, but the drawers are done. The only hang up was that the varnish had started to go bad while finishing the fronts, so I ended up sanding it all off and doing it over. The drawer front is finished with varnish just like rest of the piece. The sides back and bottom are finished with Zinsser’s Bullseye SealCoat(de-waxed shellac), as it helps seal the wood and provides a good vapor barrier. Next up are the kickers and runners.
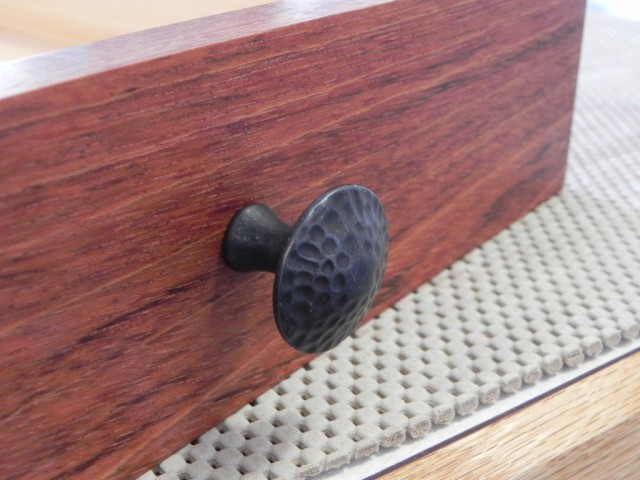
The drawer slides are done and mounted. I’m really happy with how they turned out, and how easily they slide with a little paraffin wax applied to the runners & kickers. As you can see in the second picture below, I still need to do a little adjustment work on the depth stops, but other than that they are good to go. I’ve already started working on the tops, in fact the glue ups are almost done. Check back soon, as I’m going to share the method I use to make nearly invisible glue joints.
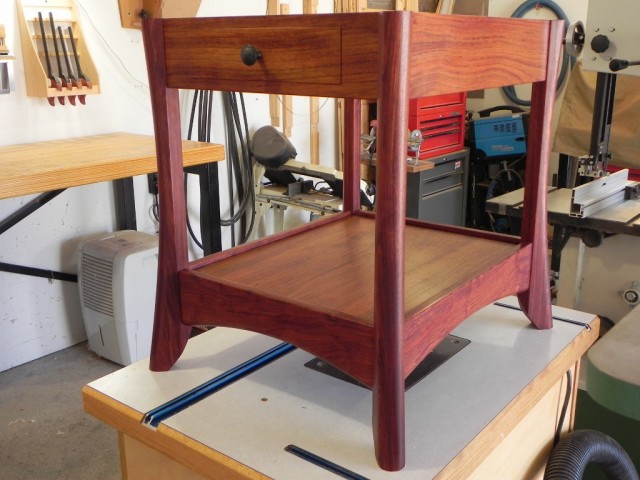
The installed drawers
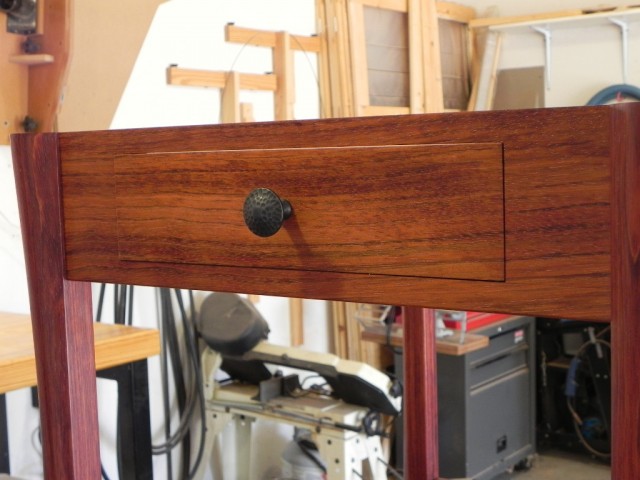
Continuous grain drawer fronts
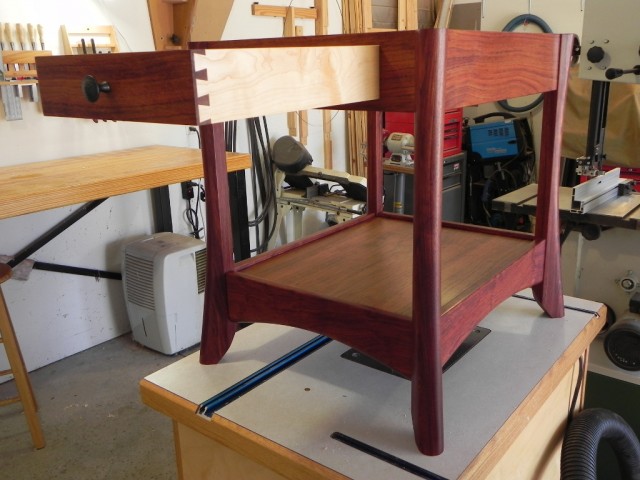
Full extension

