Making a simple plywood box
April 15, 2015 0 Comments
This Is a quick video I did showing how to make simple plywood boxes.
This Is a quick video I did showing how to make simple plywood boxes.
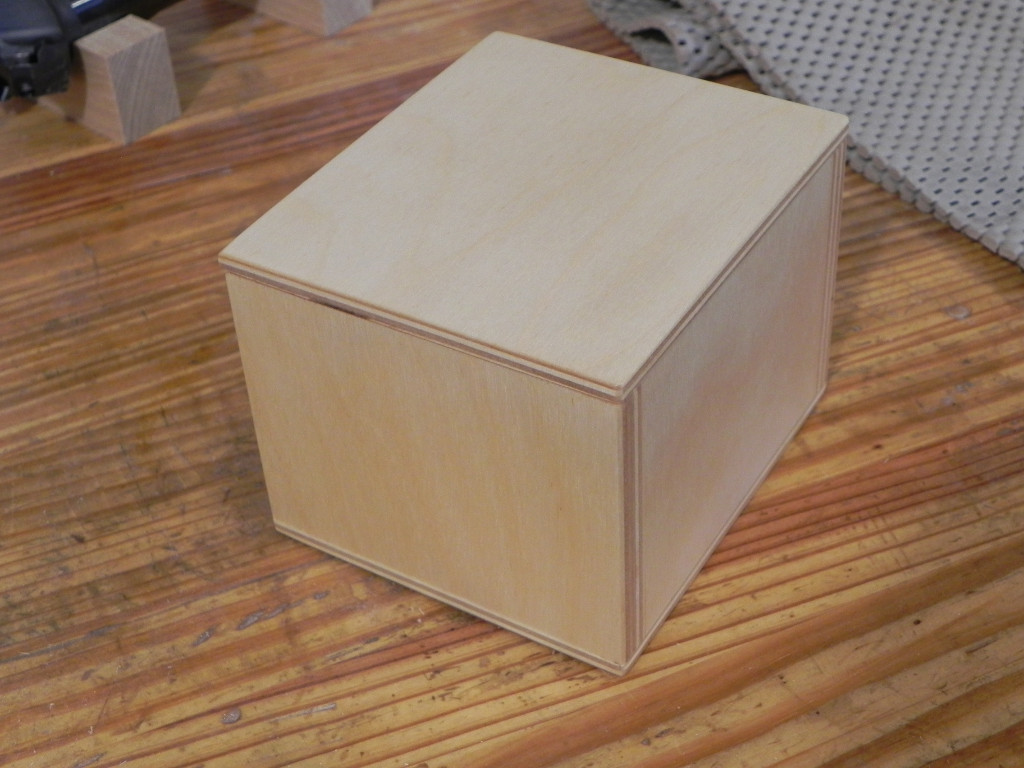
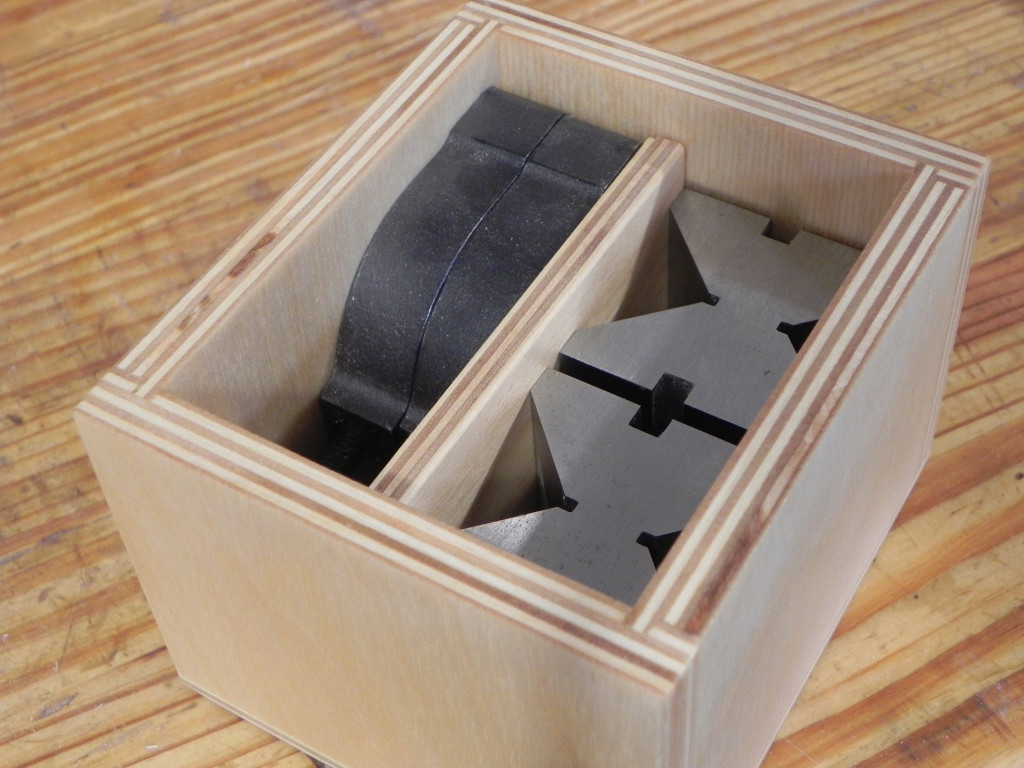
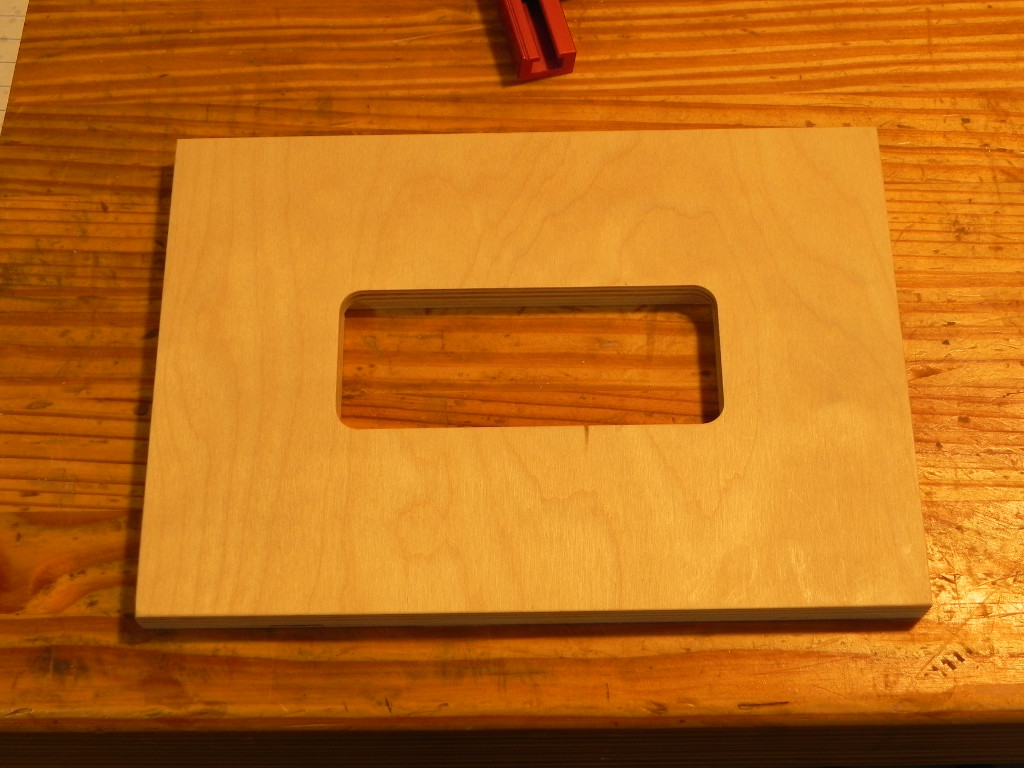
Just about everyone has heard the proverb measure twice and cut once. I’ve followed it religiously since I started woodworking, and because of it I’ve made very few mistakes over the years. I’ve had very little time in the shop over the last couple weeks, do work and personal obligations. When I finally made it into the shop the other night, i was rushing, as I wanted to make some real progress on my current project. As I mentions in my last post, I’ve been making little plywood storage boxes. I’d just finished a box, and decided to check how it’s future resident would fit. As you can see below, it didn’t.

After several minutes of cursing, head scratching, and double checking I figured out what went wrong. In my haste, I had screwed up my length calculations. Instead of adding the thickness of the ends (3/8″) to the get the length of the sides, I added the thickness of the rabbets (1/8″). Thus I think proverb needs an amendment, Measure and calculate twice and cut once.
I took a small break over the last two weeks, as I’d reached the point of not wanting to go into the shop because of how cold it was. Thankfully Spring looks to be here, as we hit the 60’s earlier in the week. Thus, I was able to get some significant shop time over the last couple of evening. I spent a good deal of time experimenting with hot hide glue. Unfortunately my shop is still to cool to go reliable glue-ups every time, so I’m going to use liquid hide glue instead.
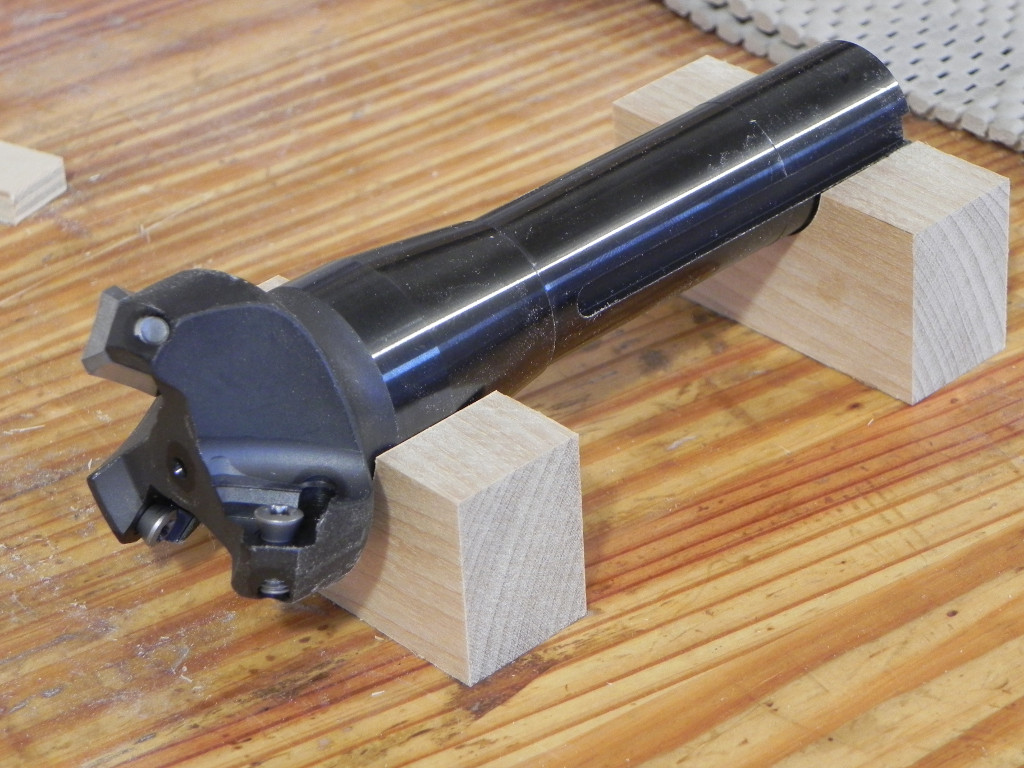
Below are some teaser photos from my next project video. Basically I’m going to show how to quickly make storage boxes for metalworking tools. I’m going to go over some of the things you need to consider when storing unprotected metal for long periods of time in close proximity to wood.
Despite mother nature and old man winters concerted attempts to keep me out of the shop, I was able to finish the lathe stand this weekend. Despite some minor issue during the build, I’m very happy with how it turned out. As you can see below, it’s just 8 boards held together with bolts and dry mortise and tenon joinery.
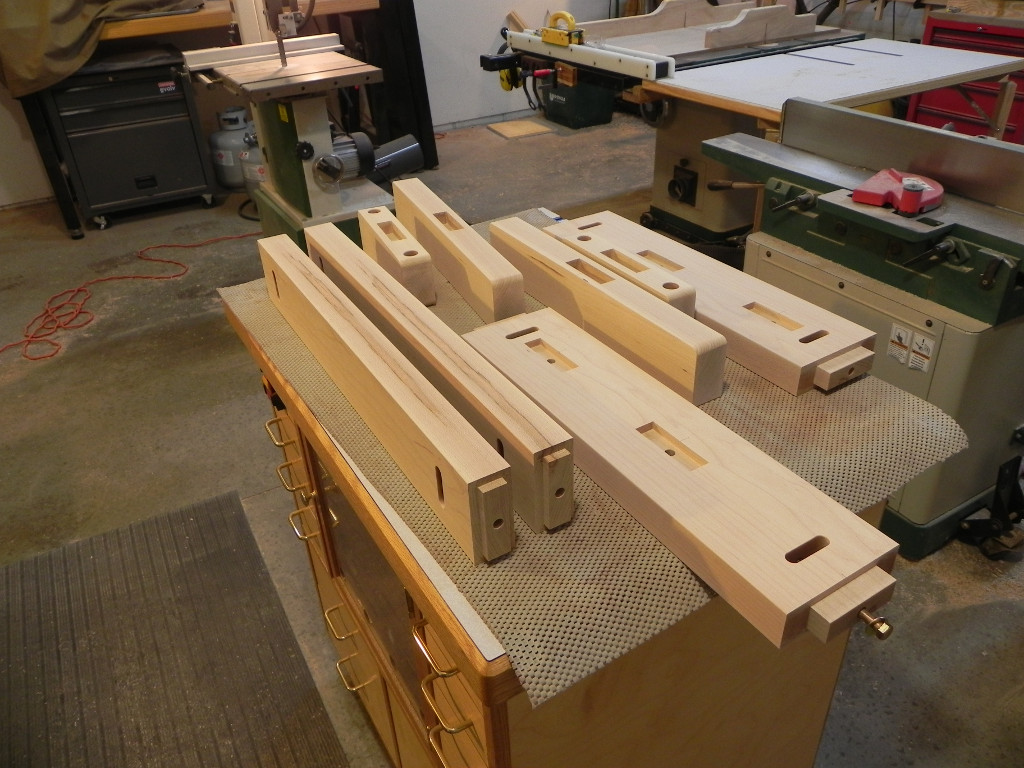
parts ready for assembly
Instead of using cross dowels to hold the parts together like you would typically find in bed frame construction, I decided to use a slot and a standard bolt. The primary reason for this, was because I couldn’t find large cross dowels locally, and everything online seemed overly expensive. If I ever get around to making a bed, I’m probably going to use this method. Besides being cheap, it offers a lot more options with regards to bolt size and composition.
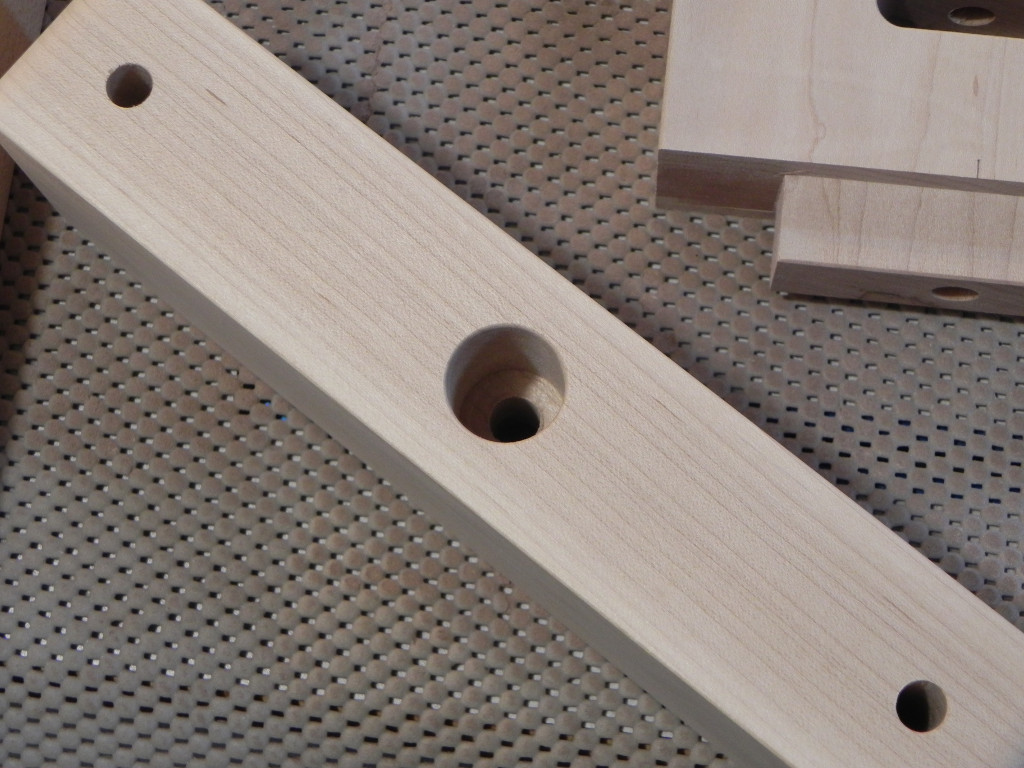
bolt head recess
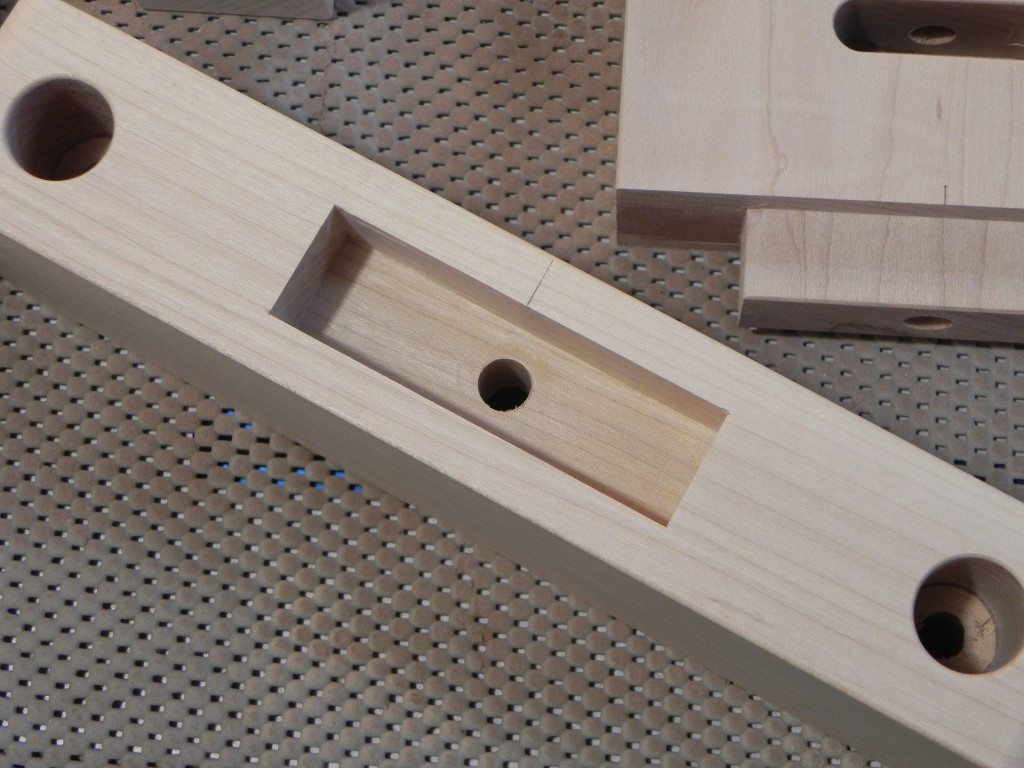
mortise with bolt through hole
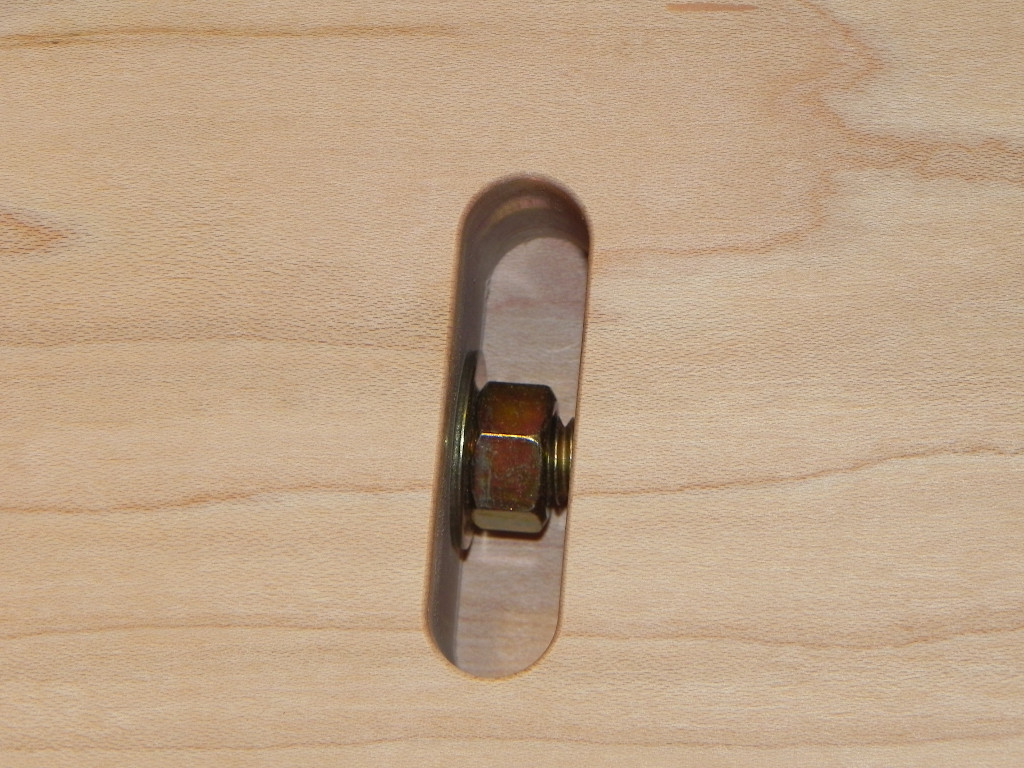
nut access slot
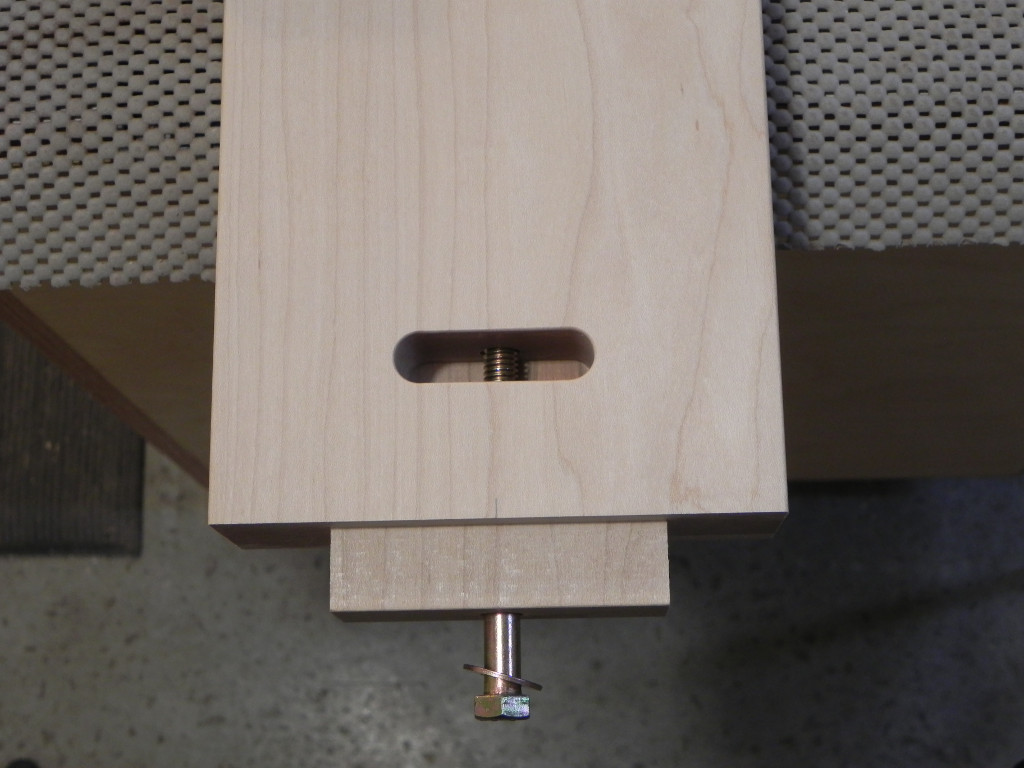
mock-up
Last weekend I acquired a Jet 1221VS. While I’ve already played with it quite a bit, I need to build a proper stand for it before I can do any real work. Since floor space it at a premium in my shop, and I wanted the stand to be quick to build, I decided to make a trestle style stand for it. I’m going to use 8/4 hard maple for the stand, since I have a lot of it on hand, and it’s a strong durable wood. Since I might buy a bed extension at some point in the future, I decided to keep the stand modular. Thus, the stand will be held together with bolts like a bed is.
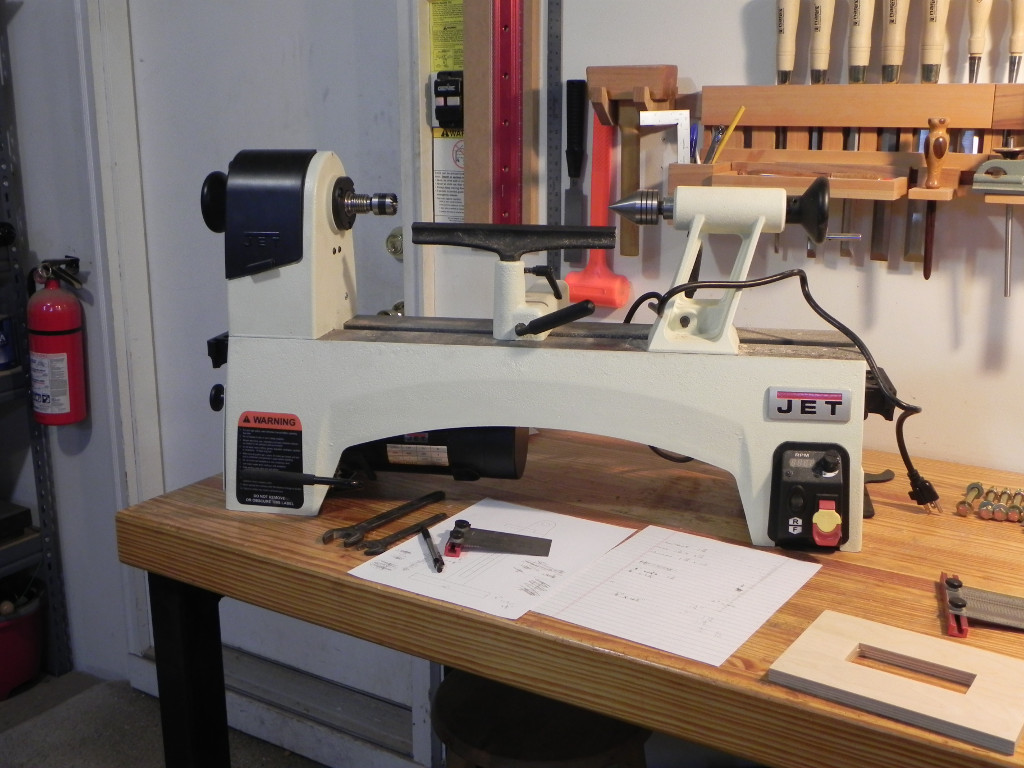
Jet 1221VS
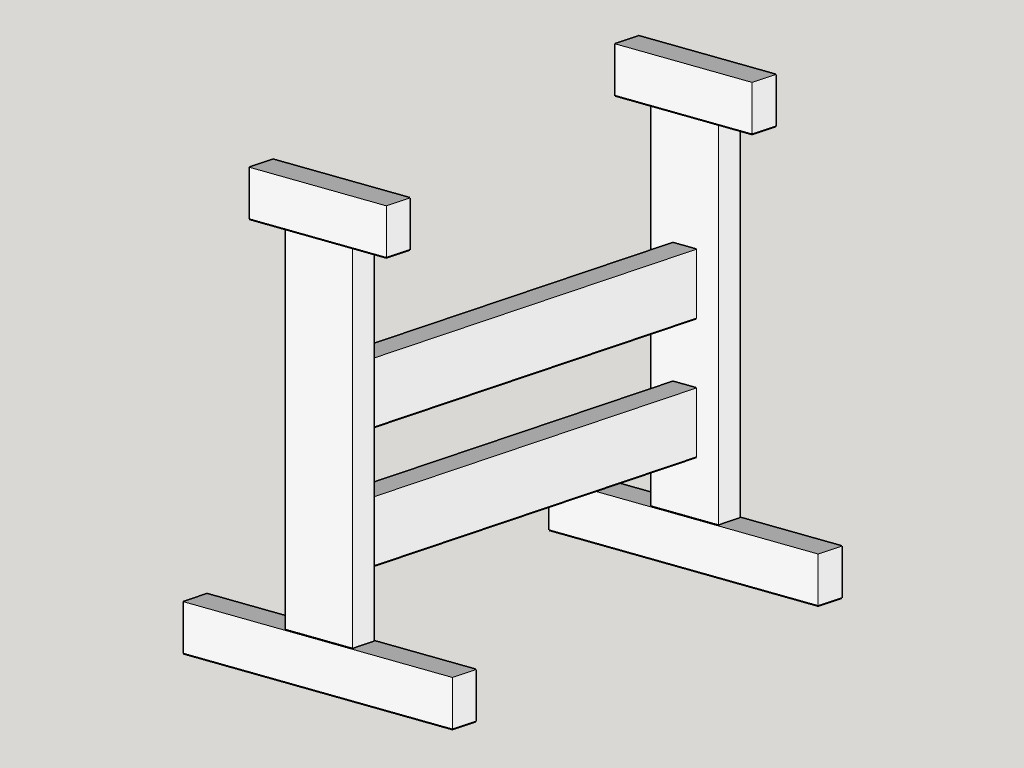
The stand
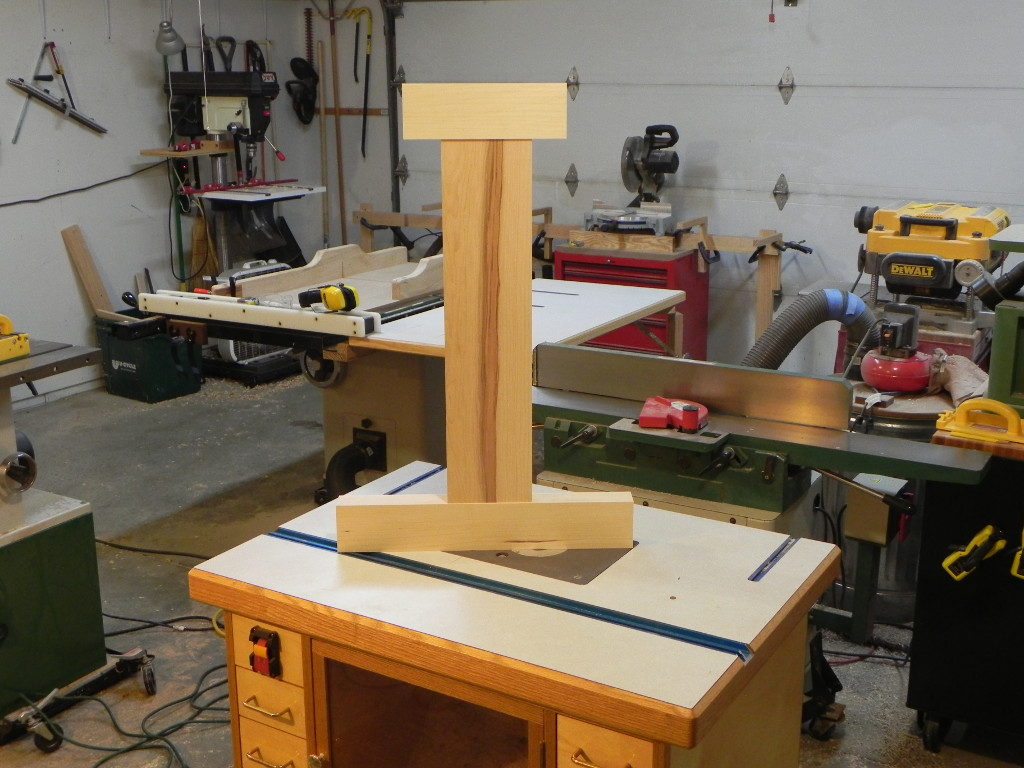
mock-up
Thanks to mother nature keeping the temperature in my shop in the low 30’s, the only things I’ve gotten done so far is dimensioning the stock, and making the mortise template shown below. Thankfully it’s supposed to warm up over the next few days, so I should be able to make some substantial progress.
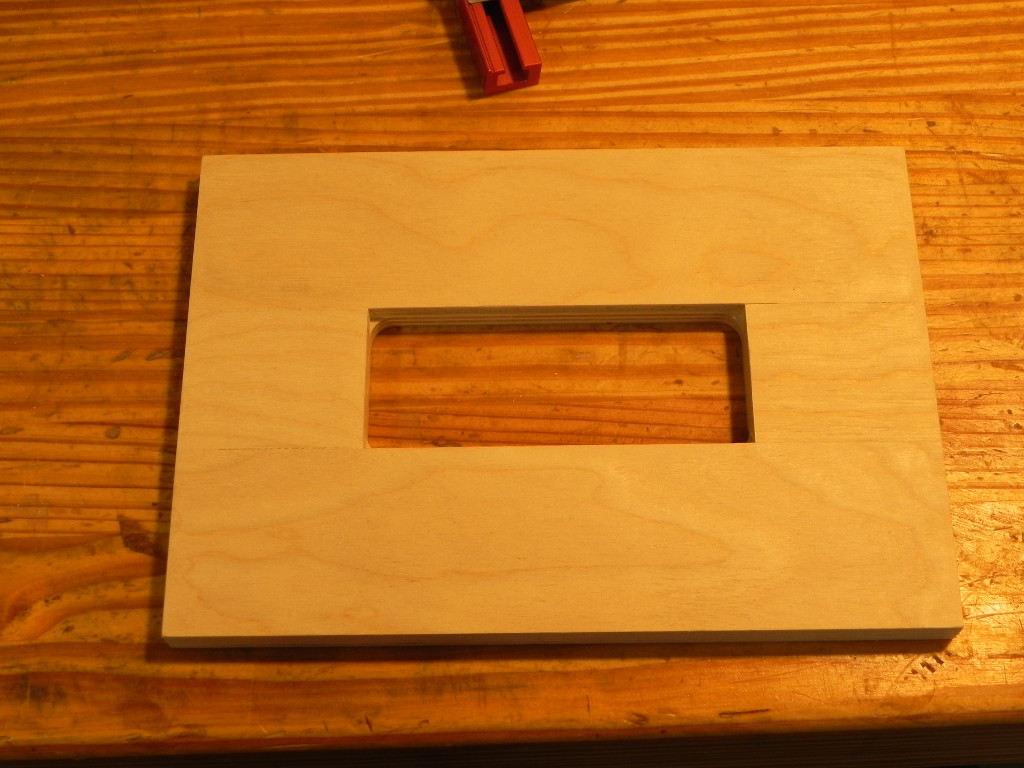
Mortise template bottom
Mortise template top