I purchased a 18″ x 24″ surface plate before Christmas, to replace the little 12″ x 18″ one a friend gave me several years back. It’s a Grizzly so it wasn’t super expensive, but I still want to protect it from the hazards in my shop. It’s been sitting on the bench covered with the ugly and flimsy shipping crate it came in. Last week, I finally got around to making a much strong and prettier cover for it.
The sides are Birch, mitered at the corners, and reinforced with Black Walnut keys. The top is 3/8″ Baltic birch plywood, that sets flush with the top of the sides in a rabbit. To make it a little more pleasant to handle, I gave the corners a 1/2″ round-over, and all the other edges a 1/4″ round-over. It’s probably a futile gesture, but to try and protect it from the inevitable cutting oil, lubricating oil, and other random things that might get spilled on it, I gave it several coats of a home brew whipping spar varnish.
mock-up
Continue Reading…
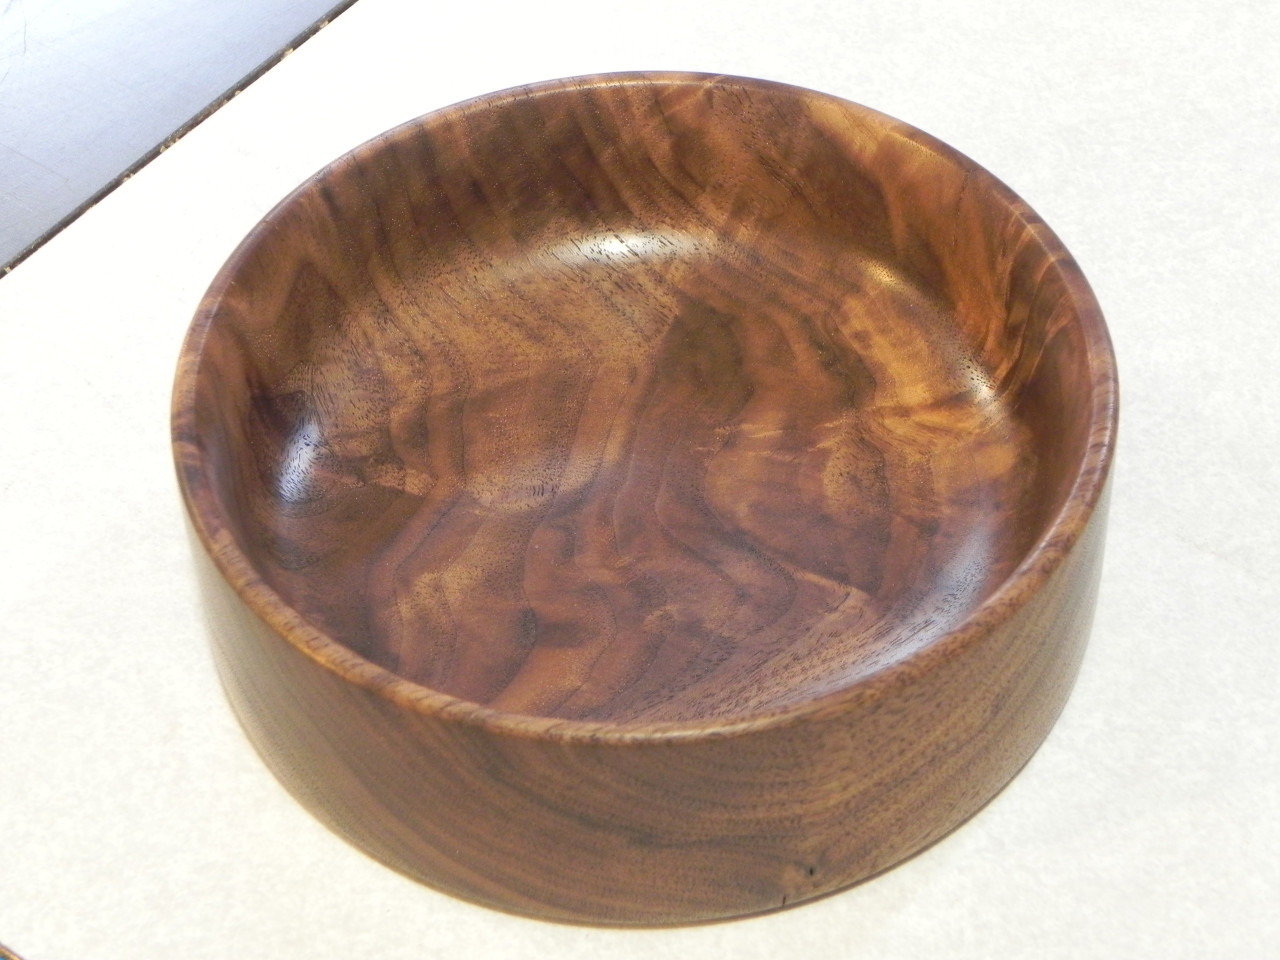
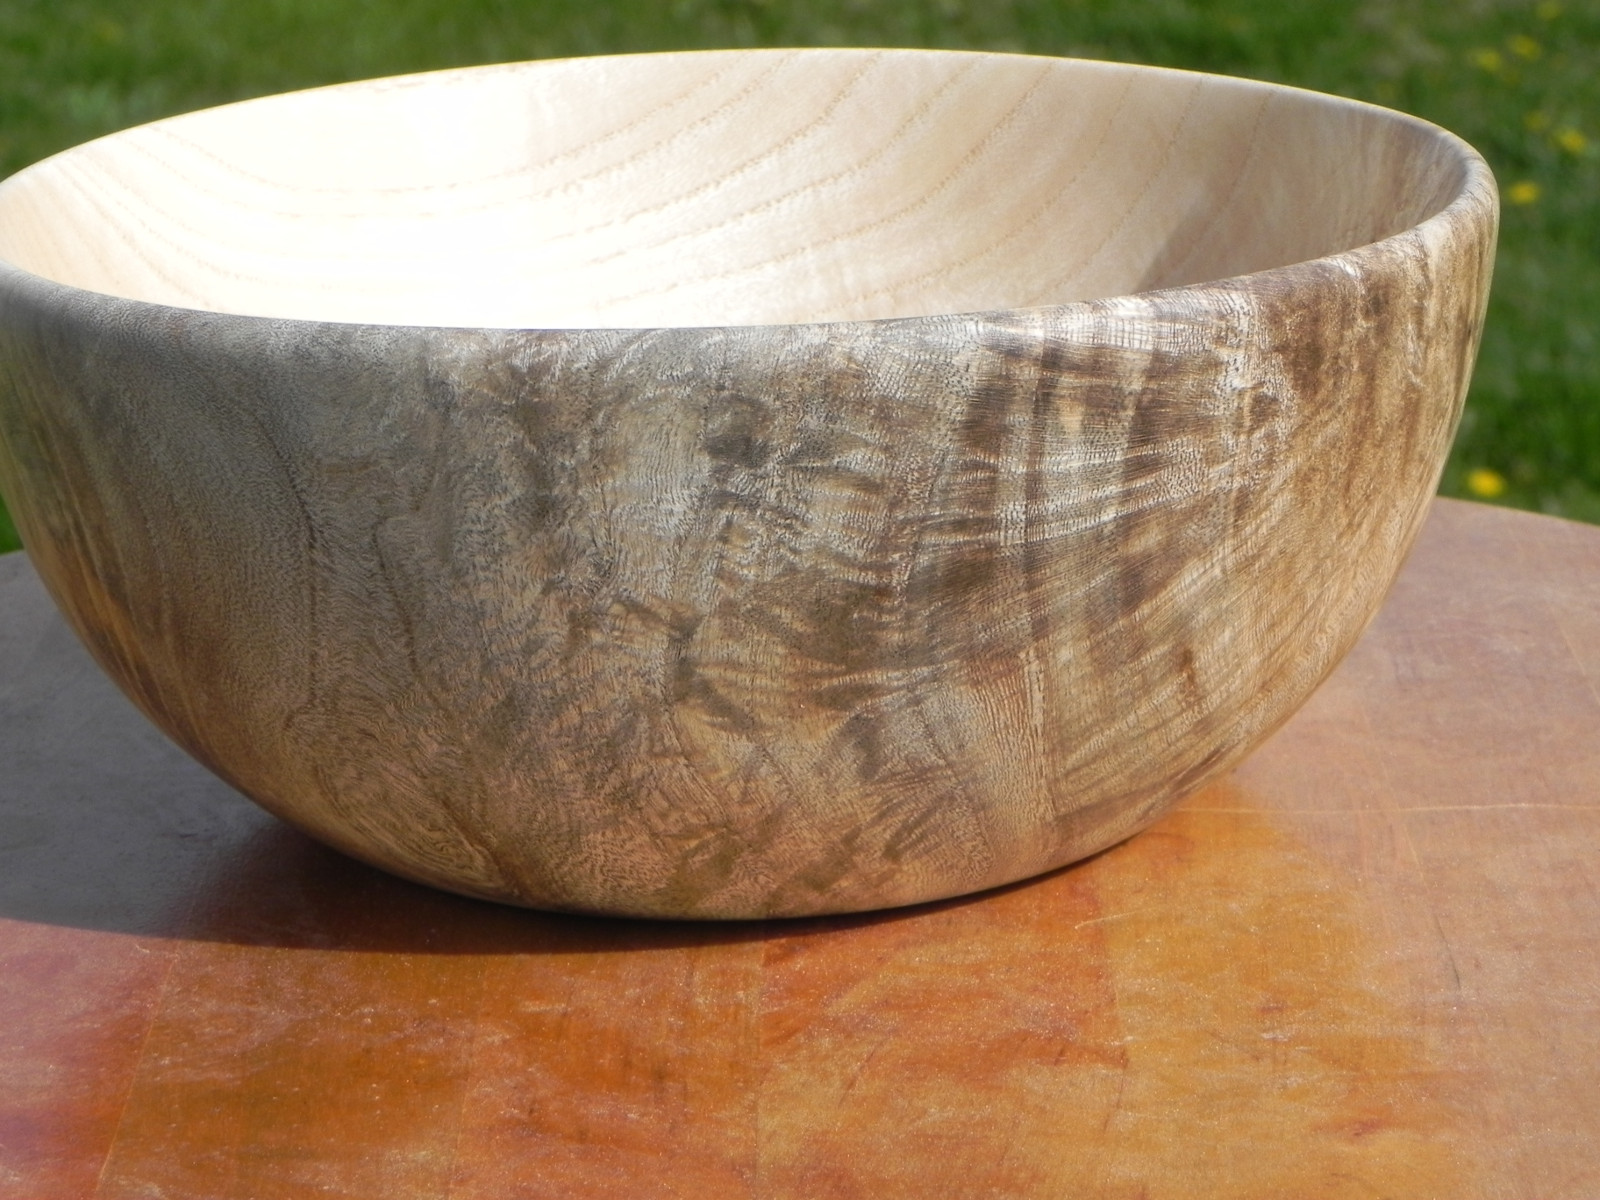
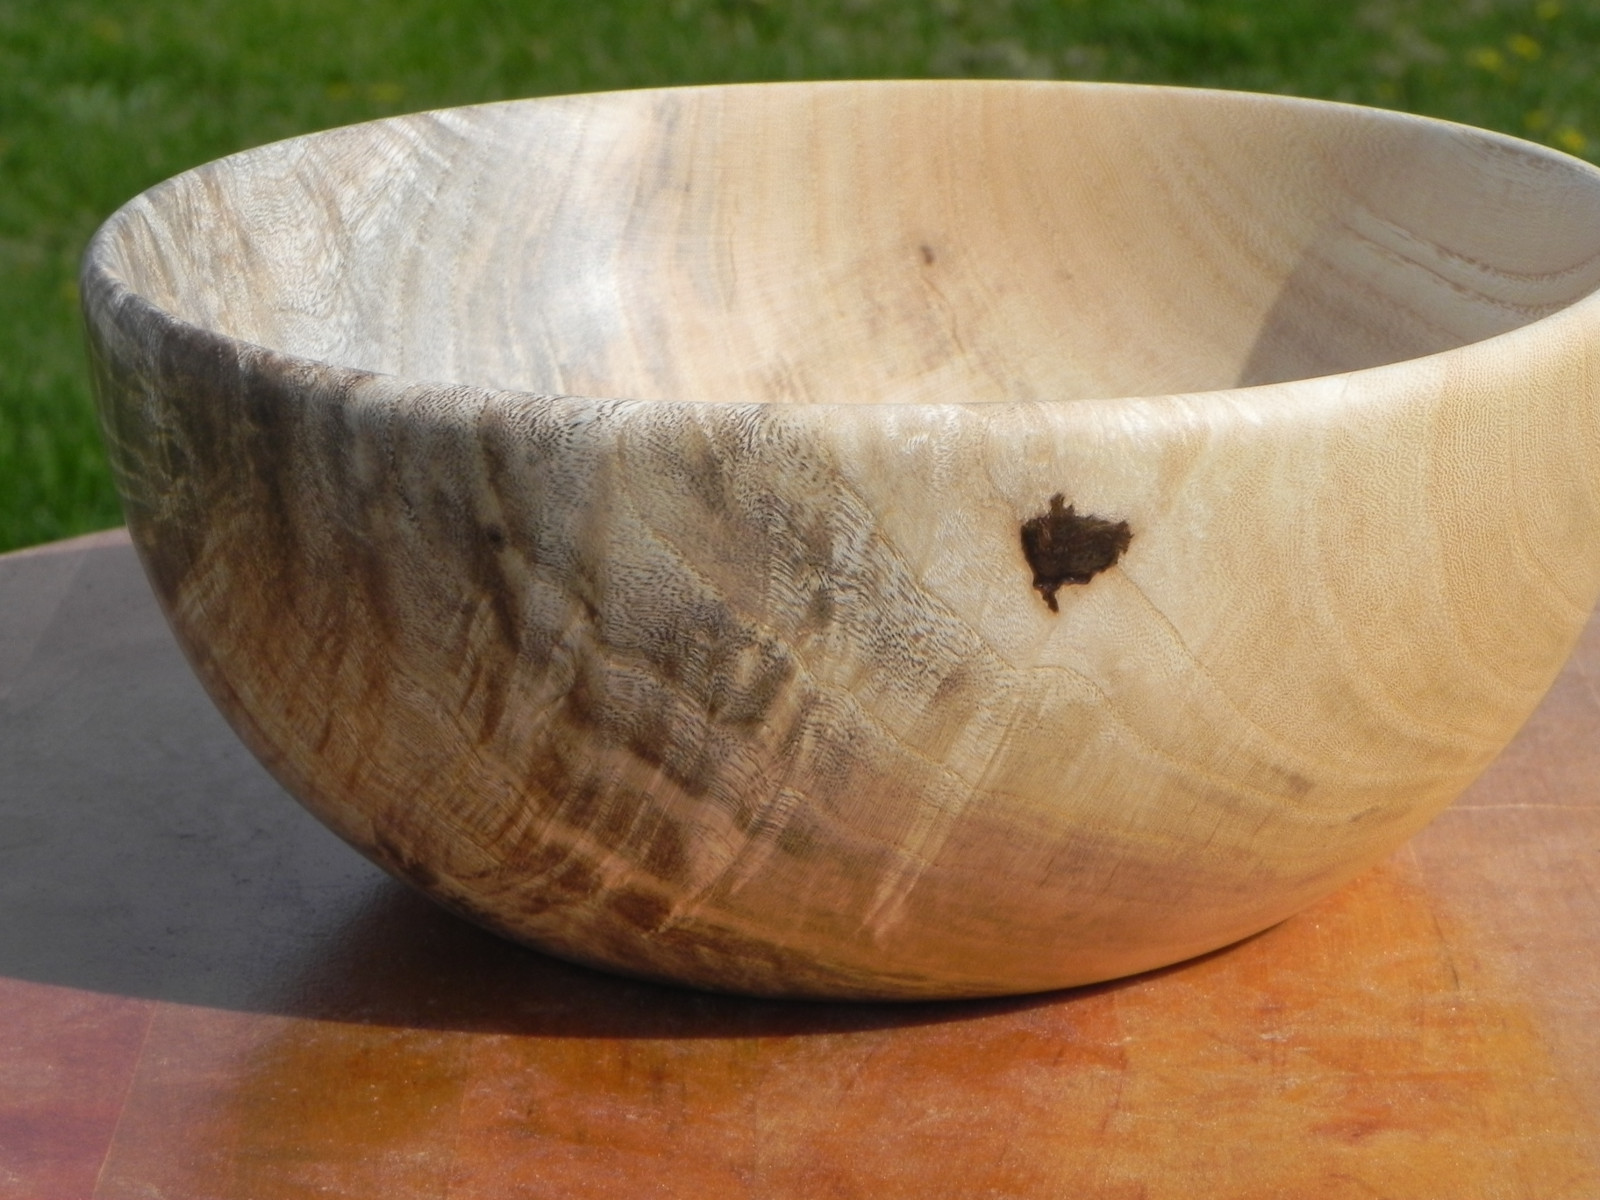
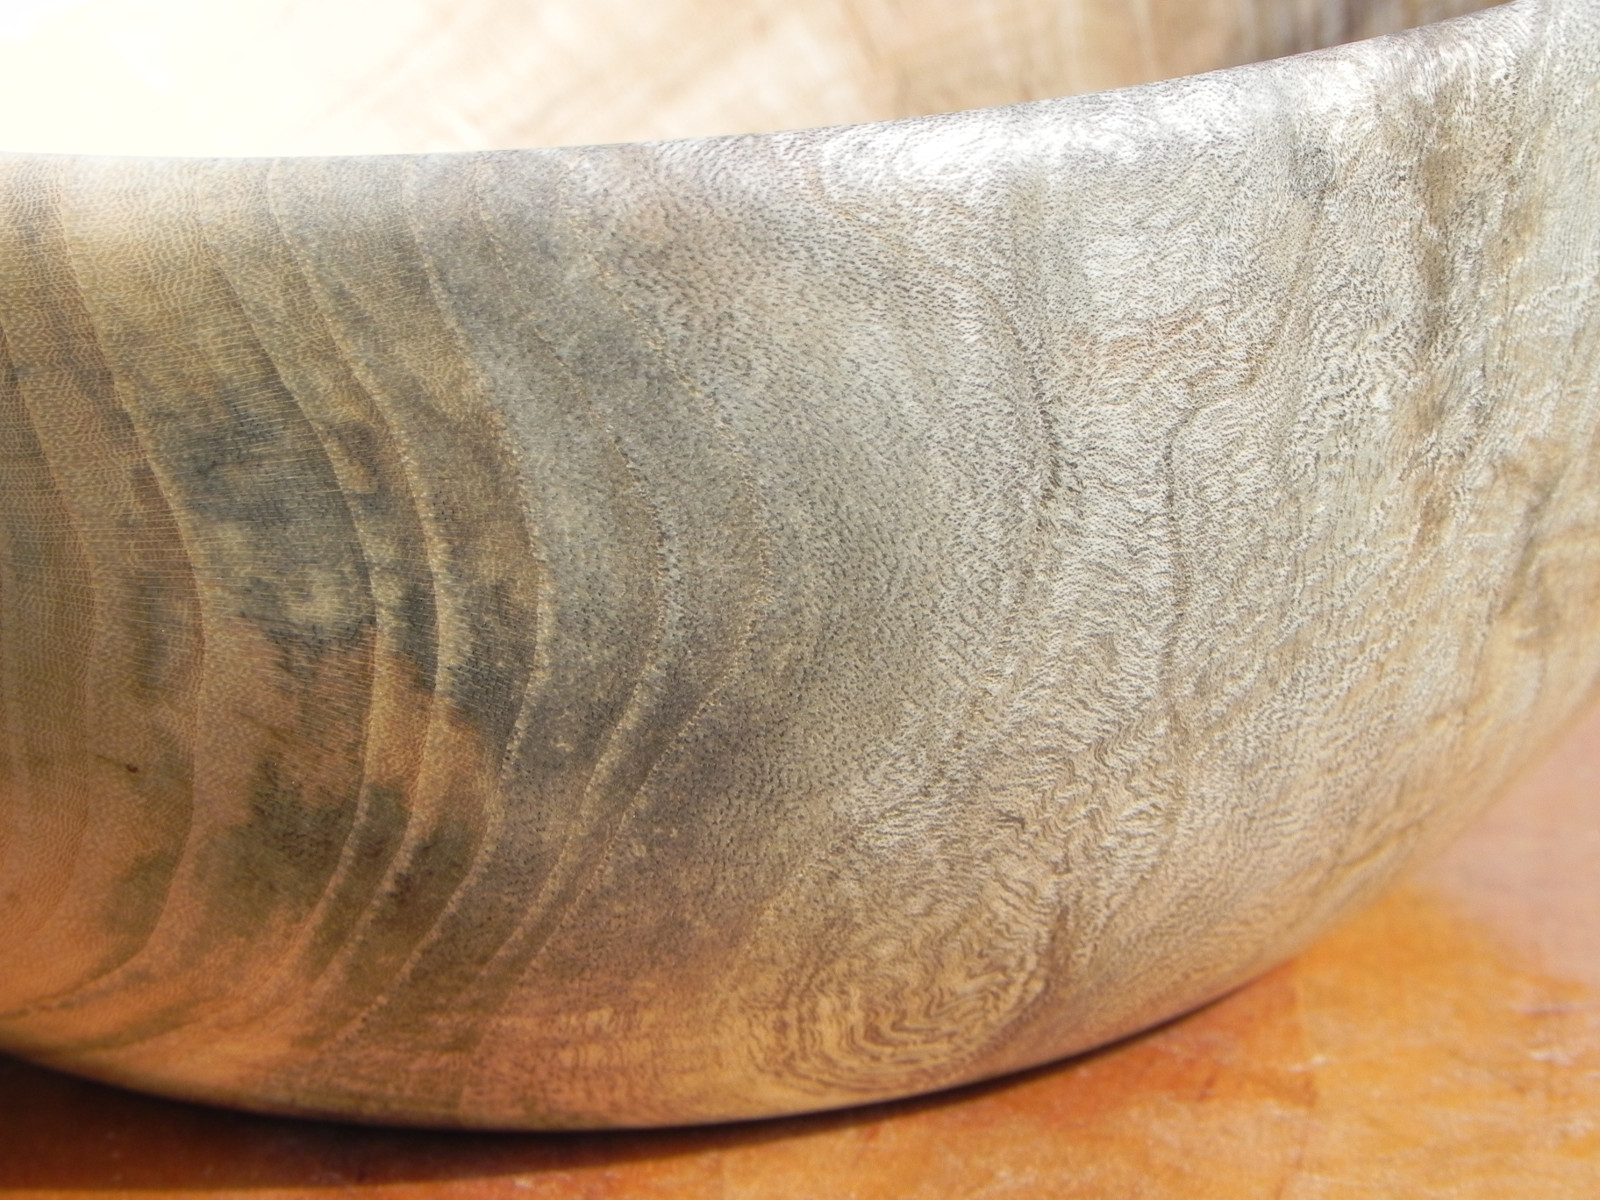
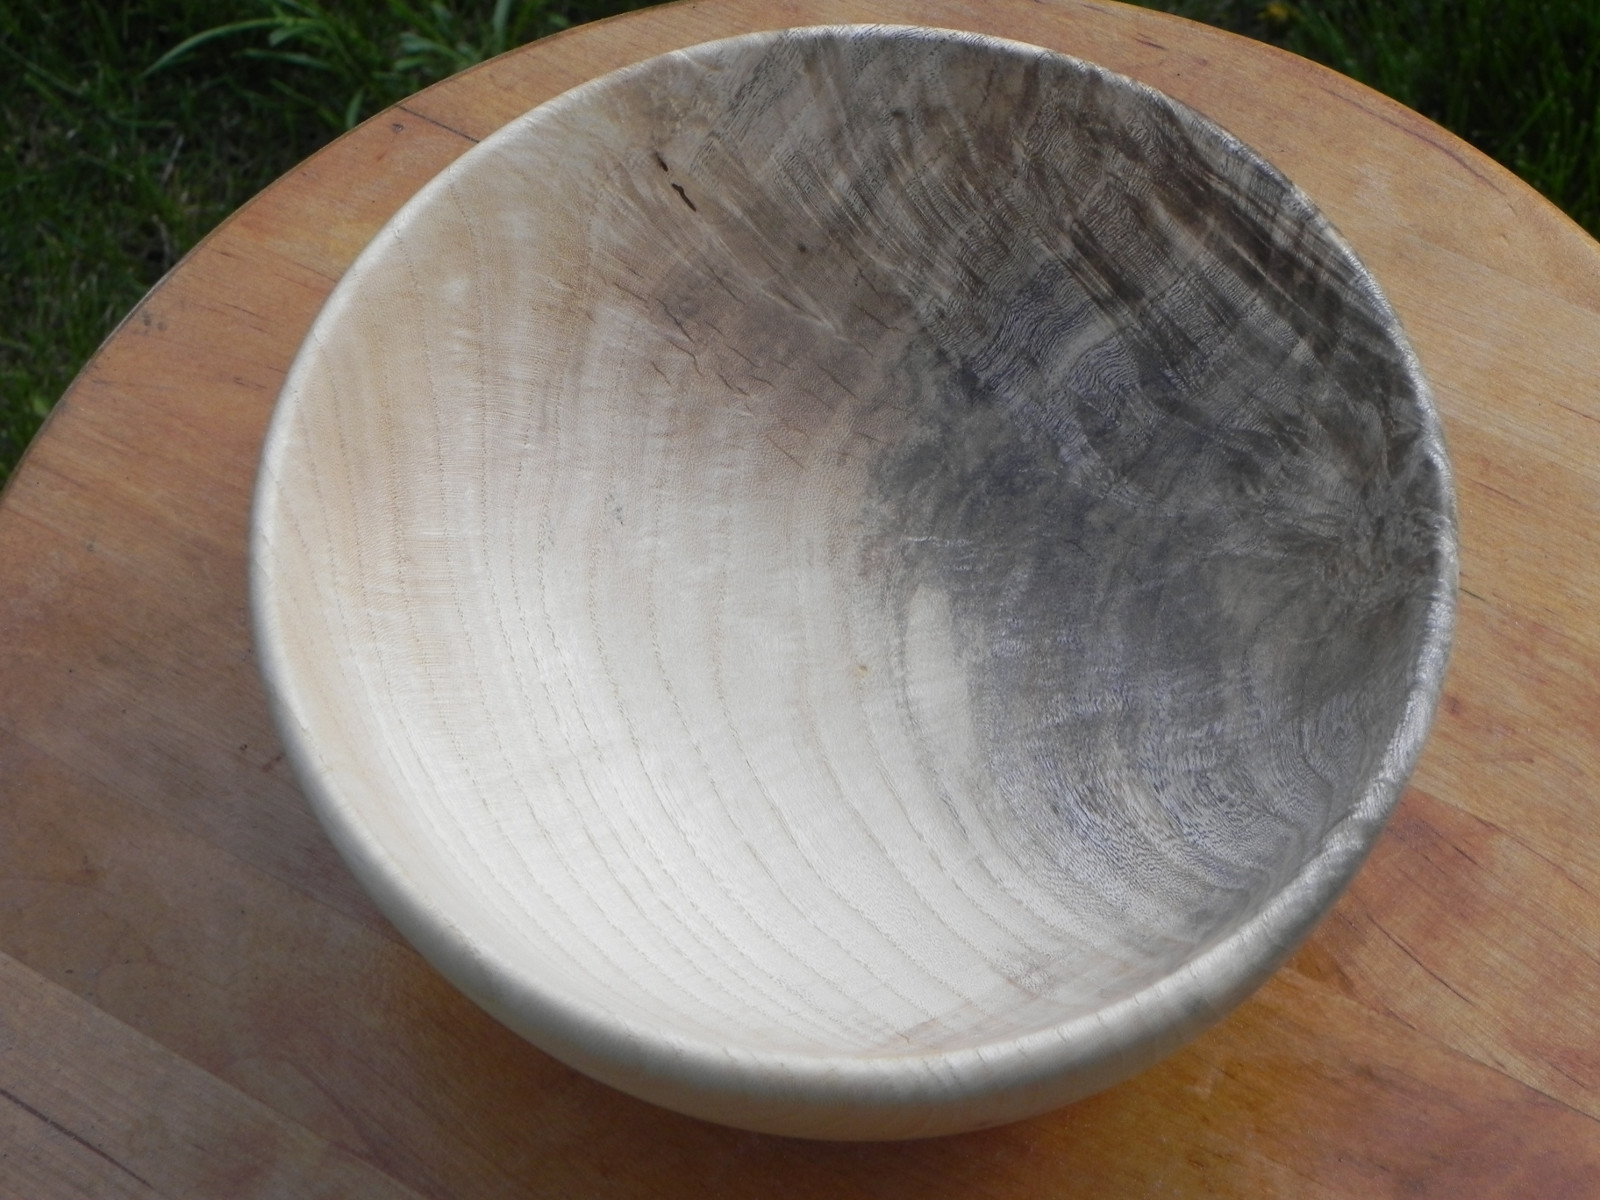
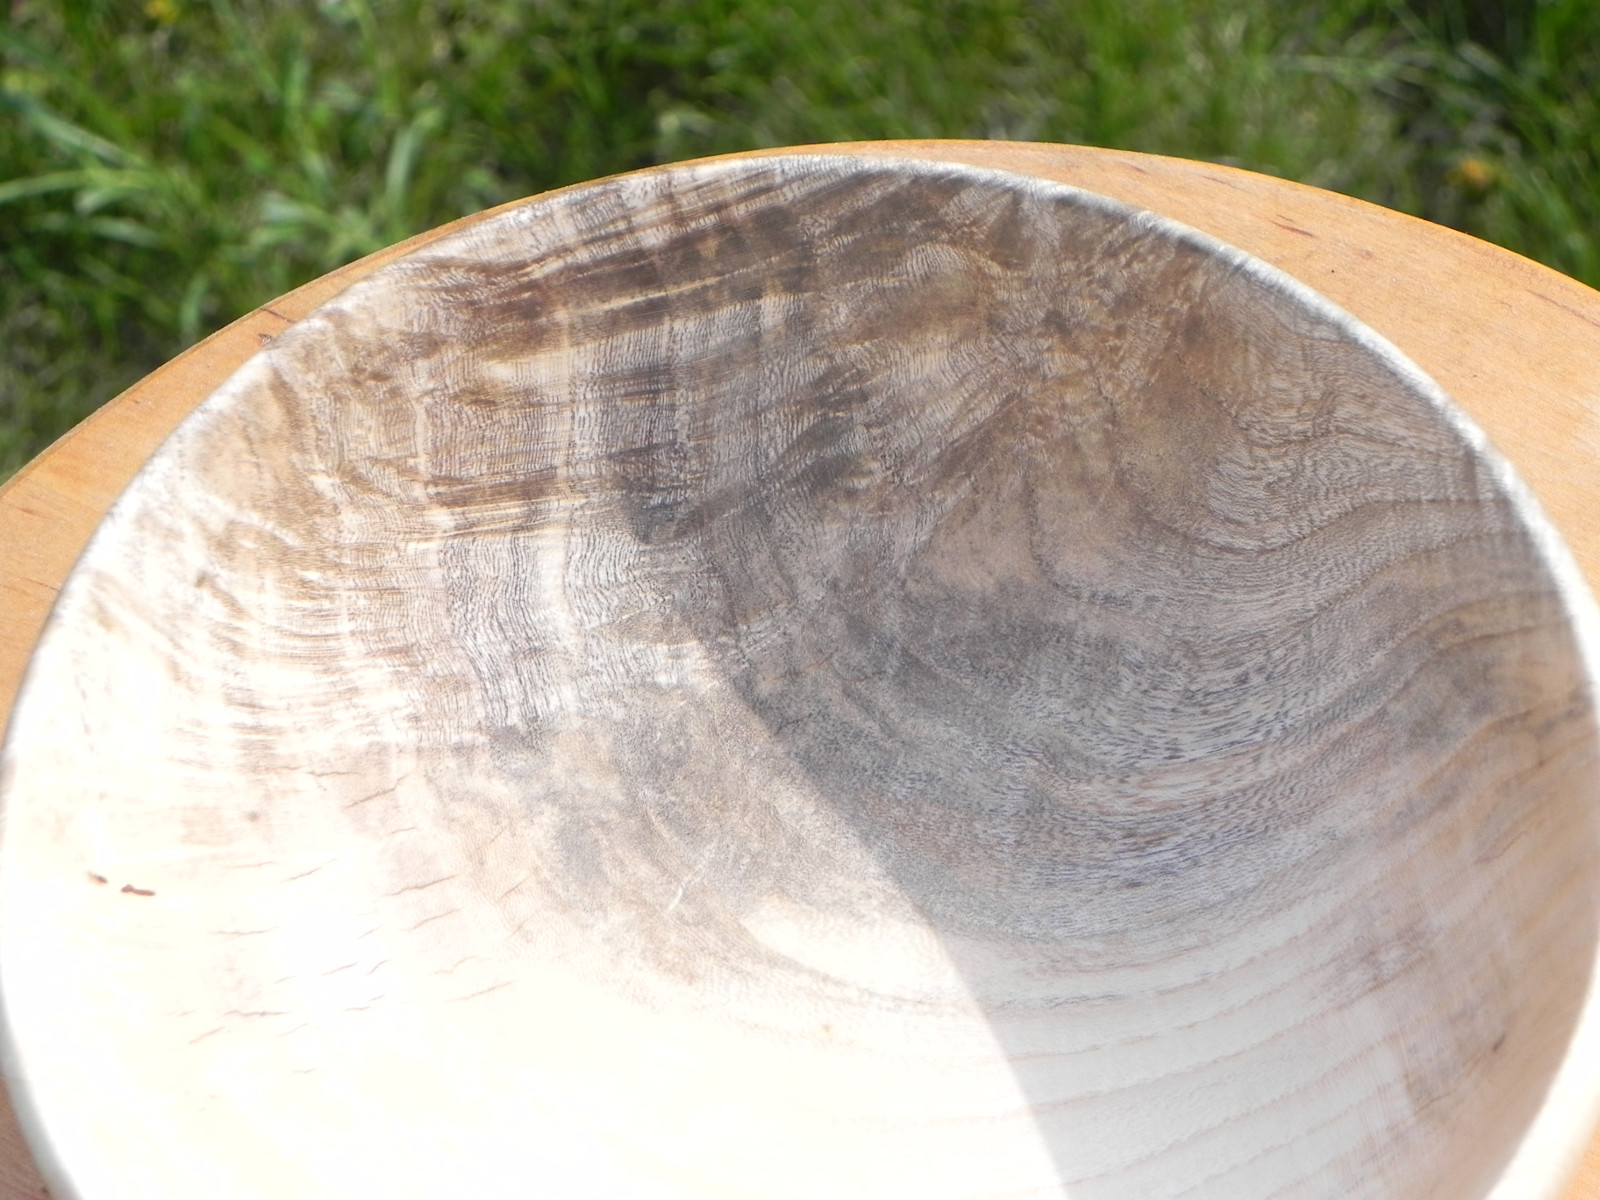
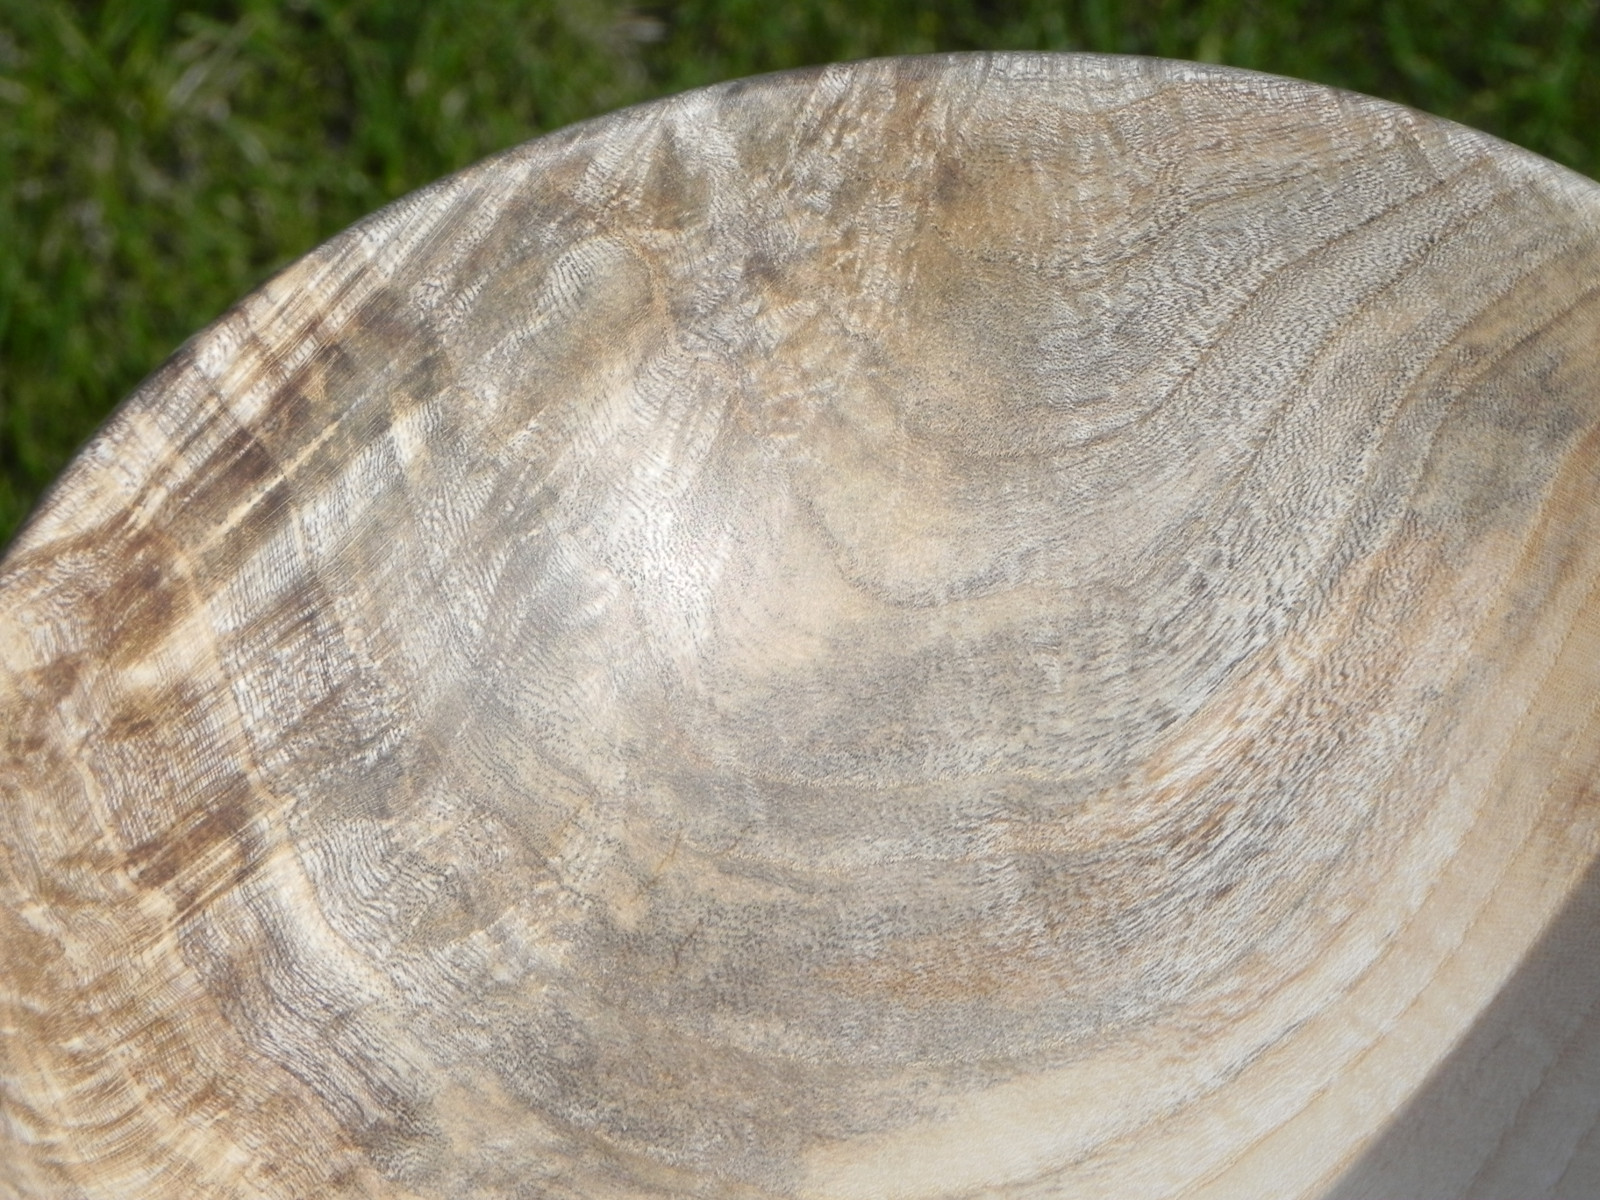
I finished up my third bowl. I made it from a small chunk of 8/4 crotch Black Walnut that has been sitting on my storage rack for over 2 years now. At first, I was pretty hesitant to use the walnut, as it had a lot of cracks, and I was worried it might explode while turning. Thankfully id didn’t explode, and it turned out really well, even if it is a really simple form.
This was also the first bowl I used the sanding supplies I got from vinceswoodnwonders, and I have to say they made sanding the bowl a lot faster, and a lot less monotonous. I started off using the 2″ sanding discs and various interface pads in my Harbor Freight close quarters drill. I progressed from 80 grit, all the way to 800 grit. I found running the lathe between 300 and 400 rpm and the drill at what I assume was about 500 rpm, allowed me to remove material quickly without overheating the interface pad. To finish of the sanding, I put the drill away and broke out The Mirlon, I used 1500 grit, and 25oo grit, this left the bowl super smooth and ready for the finish. For the actual finish I applied 2 coats of Watco danish oil. I considered applying wax after the finish dried, but ultimately decided against it, as I thought the wax would build up in the cracks.
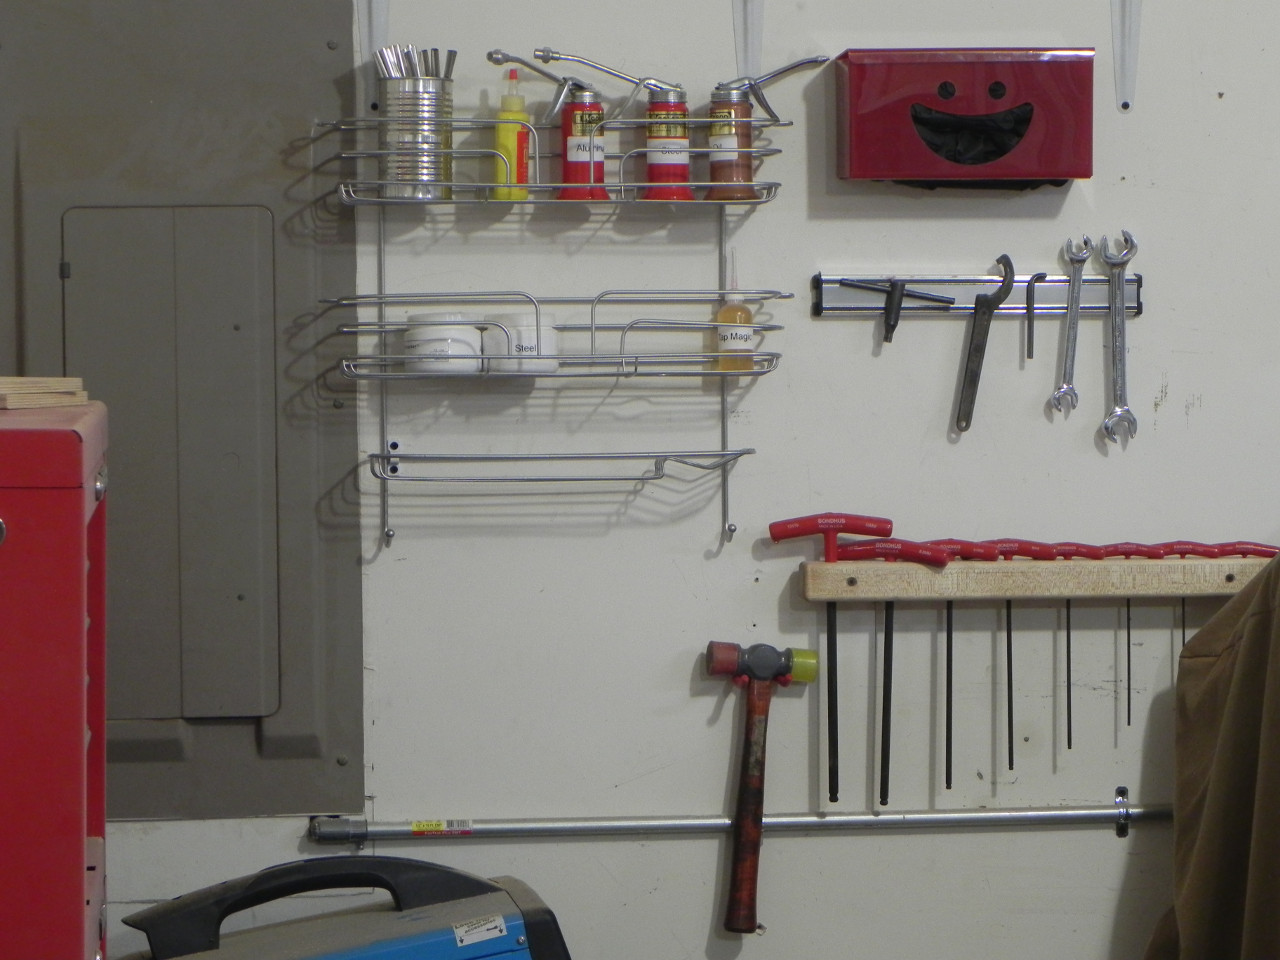
One of the things I did over the last week, was finish my accessory storage changes to the shop. I used to store my cutting and lubricating oils on a shelf above the lathe, but it was less than an ideal location. To get the oils in a more readily accessible location I mounted a shower organizer to the wall. It cost roughly $20, and has space to spare. I’m sure, I’ll eventually fill it up with random specialty oils, but hopefully that won’t be anytime soon.
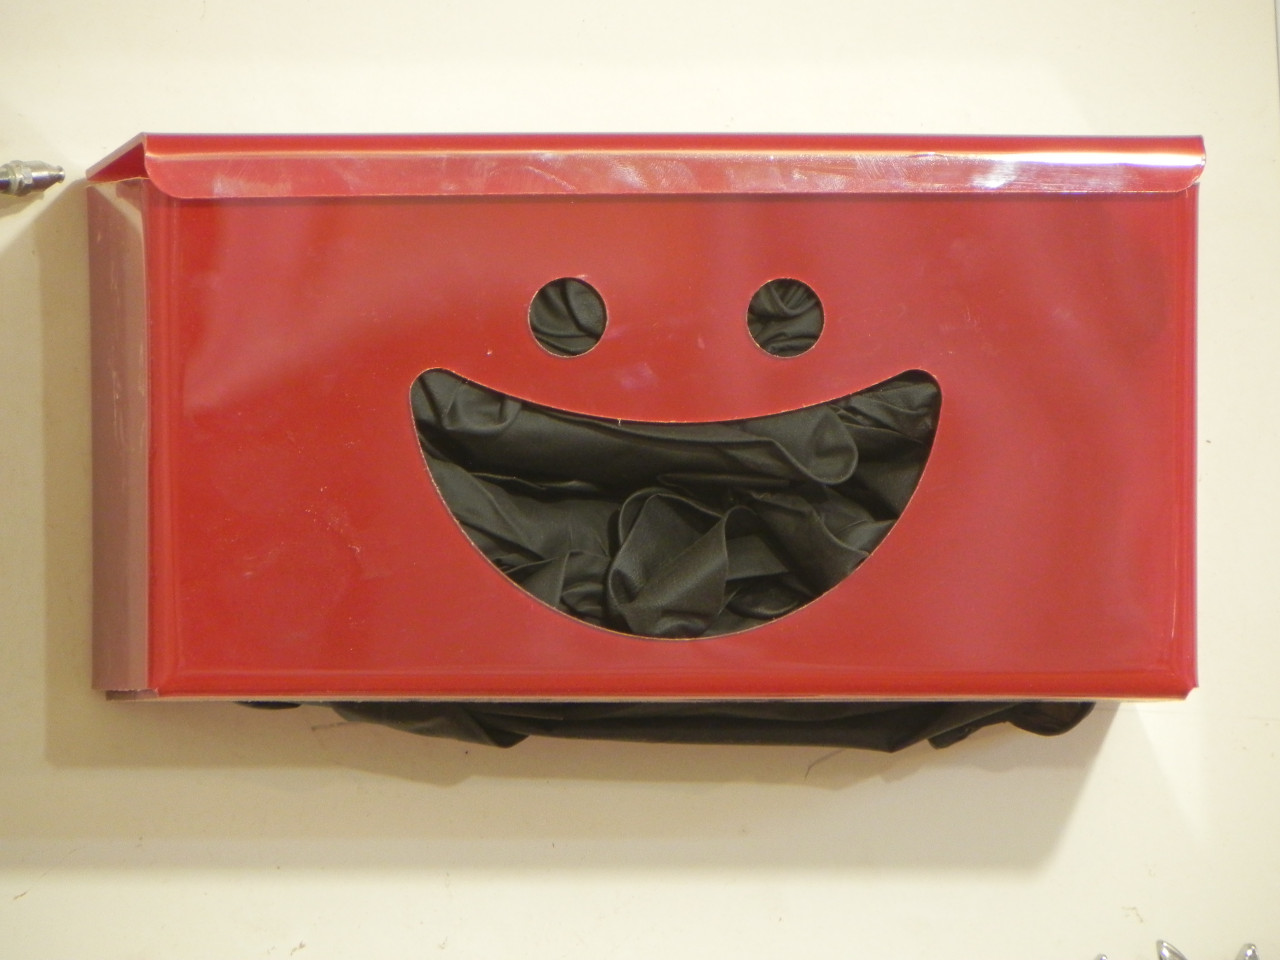
The other thing I did was mount the humorous disposable glove holder to the wall. Just like with the oil, I used to store the gloves above the lathe. Moving them to the wall, makes them a lot easier to get at, and the holder was a little over $10 on Amazon.
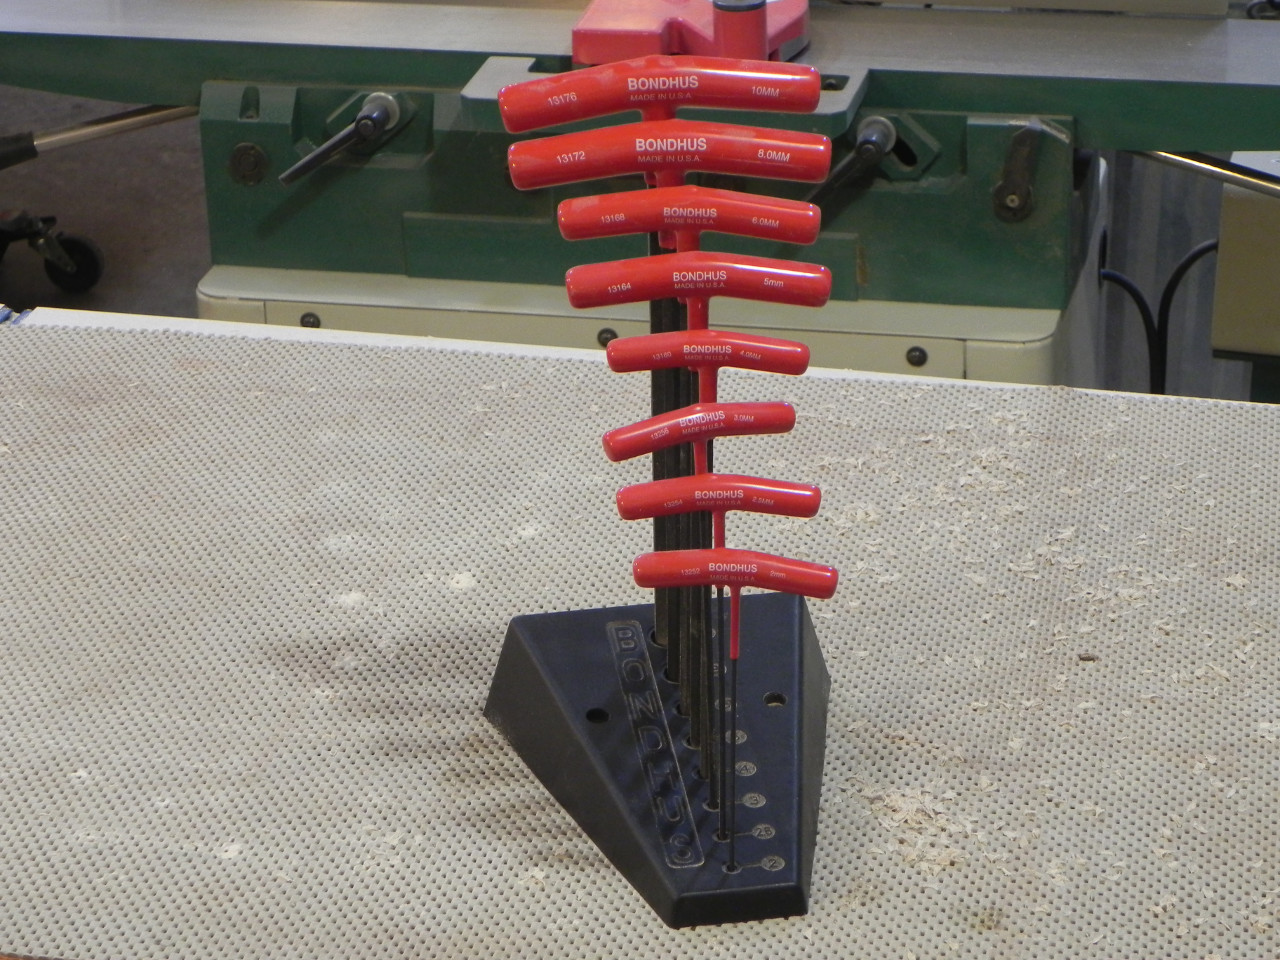
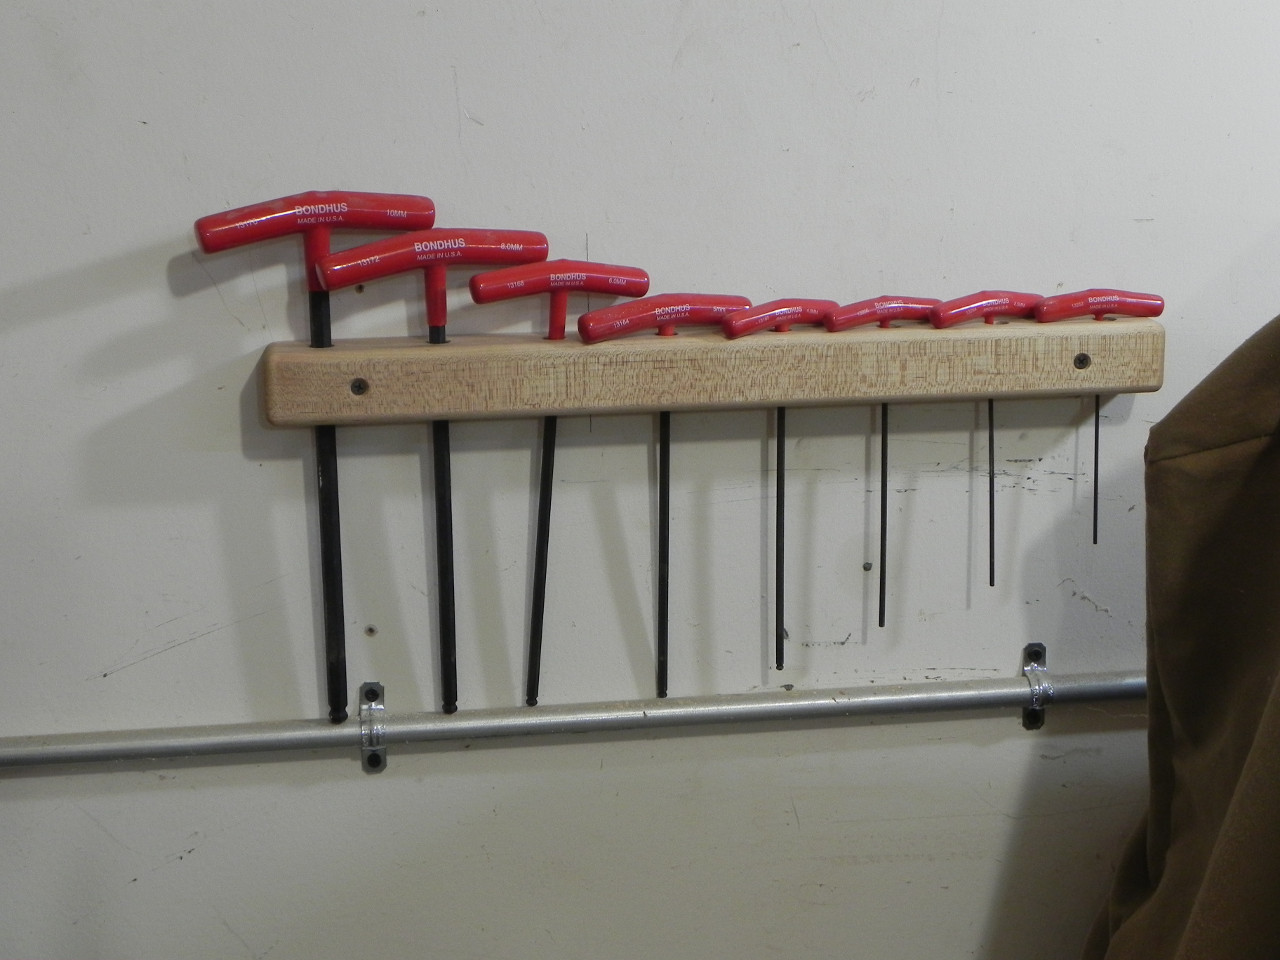
I’m still catching up on the tasks of daily life that went on hold because I was sick, so i haven’t gotten spent much time in the shop over the last week. One thing was able to do though was make a holder for the t handle Allen wrench set I purchased a while back. The set cam with a holder, but i didn’t like it, because it was rather flimsy, and how was designed to mount to the wall seemed rather awkward and prone to failure. Below, you can see what I came up with. I took some scrap 8/4 soft Maple drilled holder holes rounded over all the edges and mounted it to the wall. It’s low profile and not likely coming off the wall anytime soon.
I finally put the new lathe to use, and made my first ever bowl. It’s made from lightly spalted hackberry. The biggest thing I learned form this project, is that I need a good power sanding set up, as I spent more time sanding the bowl than I did turning it. The finish I chose to use was mineral oil & wax.