The first project I used my mill for, was to make a base for it. The primary purpose of the base it to provide a level and rigid platform for the mill to sit on. Having a level mill, lets me use “level” as a reference when setting up a work piece. This often comes in handy when working with oddly shaped, or cumbersome parts. Since my shop floor isn’t flat, the base also guarantees the mill will not rock or vibrate like it did when I initially set it up.
The secondary purpose of the base, is to raise the mill up to a height more comfortable for someone of my stature. As it sits, the top of the table is 41.5″ off the floor, so anything I’m working on is easy to see. The x & y axis wheels are also high enough now, that I don’t have to stoop over to use them.
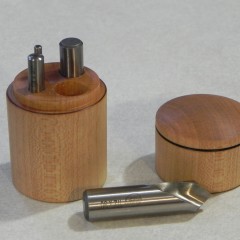
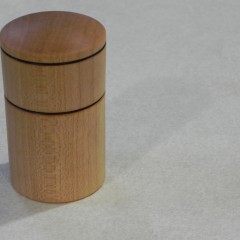
I ordered some decent spotting drills the other day, but to my disappointment they arrived on my door step in plastic bags. Since I had some free time last night, I decided to make a little storage box for them. The box is made from scrap 8/4 Hard maple. The decorative black lines were made using the wire burning technique.
Ever since I got my little Harbor Freight 8×14 lathe over a decade ago, I’ve wanted to get a milling machine. The mill I purchased was a Precision Matthews PM940-PDF. While still technically considered a benchtop mill, its 1300lbs weight, and shear size meant it needed to be treated with a lot of respect when it came time to set it up. The following shows the steps I took to get the mill off its shipping pallet, and into its final position.
I’ve been putting off making a storage rack for over a decade now, but with a new mill on the way, my need for space and organization is greater than ever. The rack is 1′ x 2′ x 3′, and while small compared to some I’ve seen it’s perfect for my shop, because I keep very little stock on hand. I had some 1″ x 1″ x 1/8″ angle left over from a previous project, so I designed around that as the building material. The following video is some outtakes of the building process, that shows some of the techniques and tools I used. If yous like to build it yourself, you can download the 3D SketchUp model.
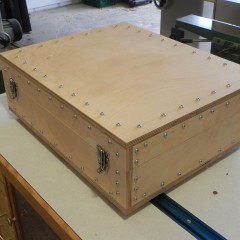
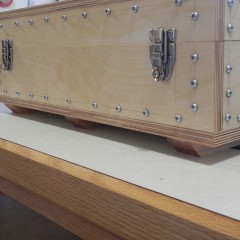
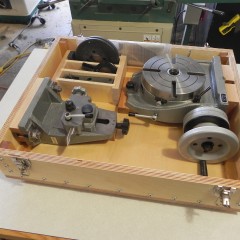
When I got my rotary table, it came in a crate, that barely made it to my door in one piece. Since I probably won’t be using it all that often, it’s going to spend a lot of its life in storage, so I made it its own personal crate. Jillian has dubbed it the bedazzled crate, and while she me right, it was all done for function not fashion. It’s made from 5/8″ Baltic birch plywood, and solid birch hardwood. The solid wood is the skeleton of the crate, and the plywood is the skin. While it’s not overly pretty, it was really quick to assemble, and rock solid.

