The simple Ribbon Stripe Sapele side table is finished and ready for delivery. As is the case with a lot of my projects, I was behind schedule when it came time to finish the piece. Thus, I didn’t get a lot of intermediate step photos of finishing the process. However, that won’t stop me from sharing what I currently consider my go-to finish.
To pop the grain and add a little color to the Sapele, I decided a coat of boiled linseed oil was needed. Common etiquette says you should flood boiled linseed oil onto the wood and let it soak in and then whip off the excess after a few minutes. I’ve found this method to be more trouble than it’s worth, because it usually leads to boiled linseed oil weeping out of the pores as it cures. depending on the wood species, the weeping can go on for almost a week, and thus really prolongs the finishing process. Continue Reading…
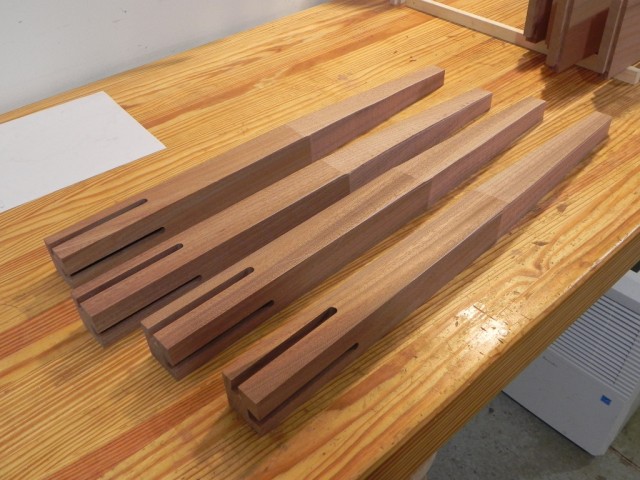
Now that the large template bit I ordered has arrived, I can finally finish shaping the legs. The legs are 1-5/8″ square at the top and 13/16″ square at the bottom, so I have a lot of material to remove, to much to remove with just the template bit. Thus the first step in shaping the legs, was to remove the bulk of the material at the band saw. The goal was to only be 1/16″ to 1/8″ wider of the line. Leaving anything more than 1/8″ behind, could potentially bog down the router and lead to an unsafe cut, and anything less than 1/16″ is more finicky than needed.
Continue Reading…
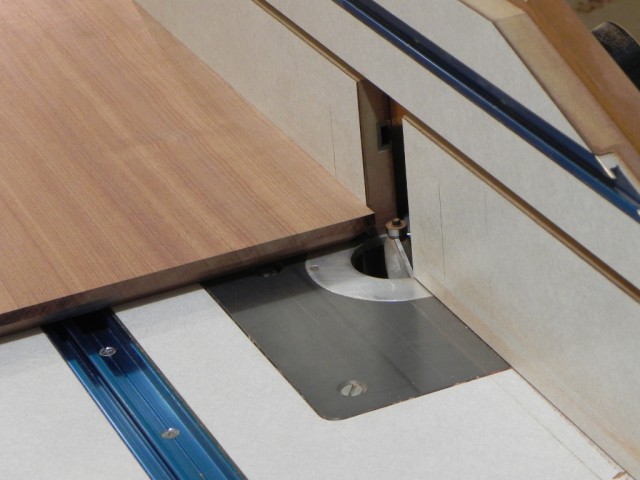
The top of the table has a 45 degree under bevel, and in my opinion the safest way to make it is with a chamfer bit at the router table. My chamfer bit it over two inches in diameter, so it’s definitely not something I want to use by hand. Even in the table, it gives me pause, because it has a lot of potential energy. It could easily launch the panel across the room, if it caught and I didn’t have a good grip on it. Thus To make the under bevel I took light cuts of no more than 1/8″ at a time. As I was taught I did both the end grain side first to maximum depth, as this lets me use a backer board on the trailing edge of the cut to prevent blow out. With the end grain done, it was easy to finish the two long grain edges.
Continue Reading…
For a table that’s not going to take a lot of abuse, I like to use sliding dovetails to join the aprons to the legs. They are easy to make with a router table, and are a self clamping joint when properly made. The key to making them properly is to use the right technique, and having a well tuned router table.
The first step is to remove the bulk of the material from the legs with a strait bit. It’s important to use the widest bit possible, because the more material that’s removed during this step the easier it will be on the dovetail bit later. In the shots below I took two 1/4″ deep passes with a 1/4″ wide spiral bit from Whiteside. The only thing even remotely tricky about this step is making sure the slot is the right length, and that’s easily accomplished with a stop block. It’s best to leave a small gap under the stop block so that shavings don’t build up and give a faulty registration.
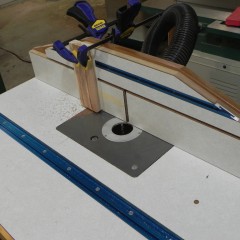
Stop block
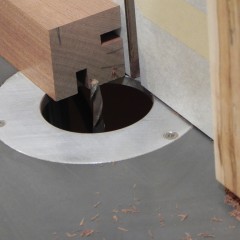
Removing the waste
Continue Reading…
The rest of the Sapele I ordered to make the side table commission arrived the other day. On the way home from the lumber store, I decided to document how I dimension lumber. I know it’s probably been documented on every other woodworking blog on the internet, but I feel my method is unique. I also feel it gives me a better chance of successfully handling any issues that occur during the process. Thus, the following is how I dimension lumber.
Once I’ve gotten the lumber home and verified I didn’t miss any major defects during the selection process, I spread it out so I can plan my cuts. For this project it was easy because the lumber was flawless, and fairly close to the actual width I needed. If I need to, I’ll spend a significant period of time determining the best way to cut around a knot, or orient the parts to maximize the impact of the grain. Unfortunately this is one area that’s hard to give tips on as its very subjective, and board specific.
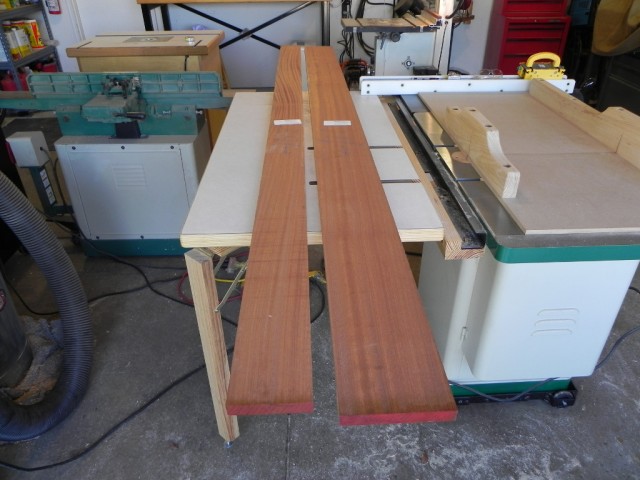
layout the boards and examine them closely.
Continue Reading…

