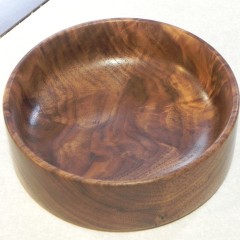
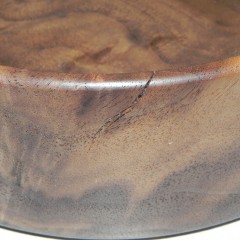
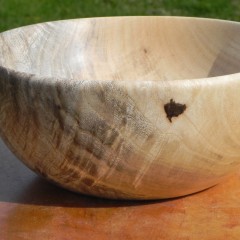
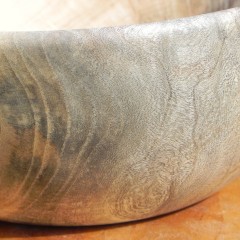
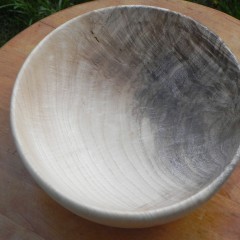
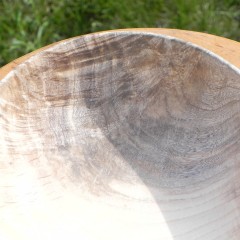
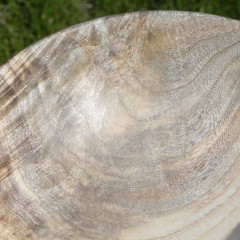
I finished up my third bowl. I made it from a small chunk of 8/4 crotch Black Walnut that has been sitting on my storage rack for over 2 years now. At first, I was pretty hesitant to use the walnut, as it had a lot of cracks, and I was worried it might explode while turning. Thankfully id didn’t explode, and it turned out really well, even if it is a really simple form.
This was also the first bowl I used the sanding supplies I got from vinceswoodnwonders, and I have to say they made sanding the bowl a lot faster, and a lot less monotonous. I started off using the 2″ sanding discs and various interface pads in my Harbor Freight close quarters drill. I progressed from 80 grit, all the way to 800 grit. I found running the lathe between 300 and 400 rpm and the drill at what I assume was about 500 rpm, allowed me to remove material quickly without overheating the interface pad. To finish of the sanding, I put the drill away and broke out The Mirlon, I used 1500 grit, and 25oo grit, this left the bowl super smooth and ready for the finish. For the actual finish I applied 2 coats of Watco danish oil. I considered applying wax after the finish dried, but ultimately decided against it, as I thought the wax would build up in the cracks.
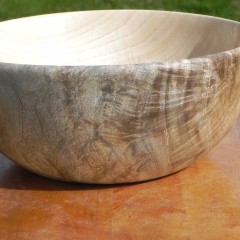
I finally put the new lathe to use, and made my first ever bowl. It’s made from lightly spalted hackberry. The biggest thing I learned form this project, is that I need a good power sanding set up, as I spent more time sanding the bowl than I did turning it. The finish I chose to use was mineral oil & wax.
This Is a quick video I did showing how to make simple plywood boxes.
I took a small break over the last two weeks, as I’d reached the point of not wanting to go into the shop because of how cold it was. Thankfully Spring looks to be here, as we hit the 60’s earlier in the week. Thus, I was able to get some significant shop time over the last couple of evening. I spent a good deal of time experimenting with hot hide glue. Unfortunately my shop is still to cool to go reliable glue-ups every time, so I’m going to use liquid hide glue instead.
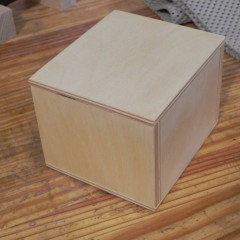
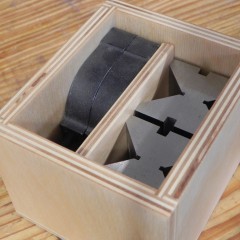
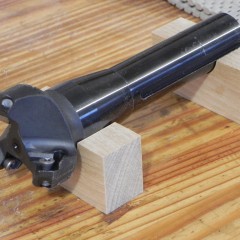
Below are some teaser photos from my next project video. Basically I’m going to show how to quickly make storage boxes for metalworking tools. I’m going to go over some of the things you need to consider when storing unprotected metal for long periods of time in close proximity to wood.
Despite mother nature and old man winters concerted attempts to keep me out of the shop, I was able to finish the lathe stand this weekend. Despite some minor issue during the build, I’m very happy with how it turned out. As you can see below, it’s just 8 boards held together with bolts and dry mortise and tenon joinery.
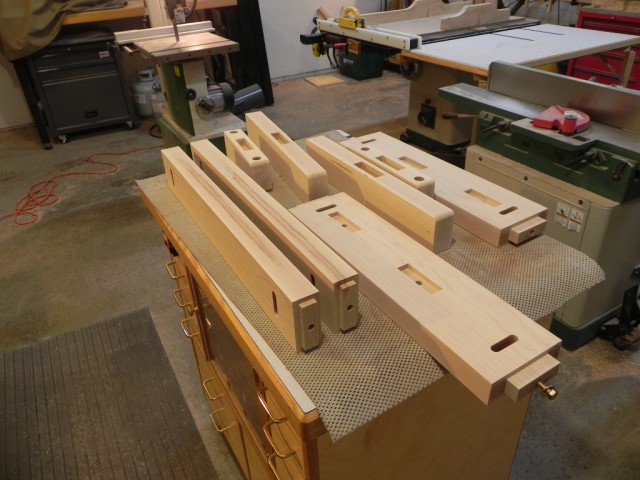
parts ready for assembly
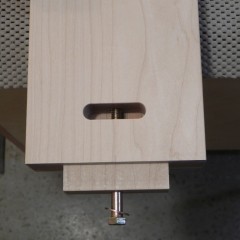
Instead of using cross dowels to hold the parts together like you would typically find in bed frame construction, I decided to use a slot and a standard bolt. The primary reason for this, was because I couldn’t find large cross dowels locally, and everything online seemed overly expensive. If I ever get around to making a bed, I’m probably going to use this method. Besides being cheap, it offers a lot more options with regards to bolt size and composition.
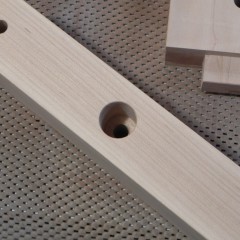
bolt head recess
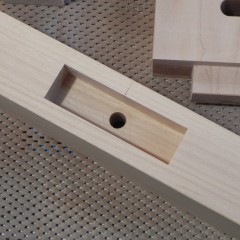
mortise with bolt through hole
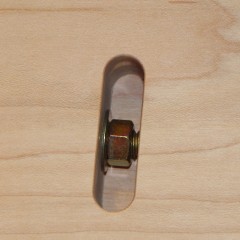
nut access slot
mock-up
Continue Reading…

