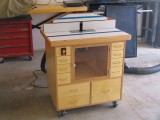
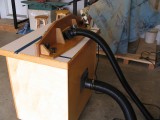
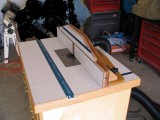
It’s finally done…
When I first started this project, I thought I would be done in a month. Now 6 months later, I don’t know where all the time went. I lost a week to a neck injury, but other than that I’ve worked on this project 10 to 15 hours every week. Either I work a lot slower than I think I do, or Norm has some magic tool to warp time.
All kidding aside, I’m really pleased with the results. I’ve gained additional storage space (always a plus in a small shop), and a valuable tool that I’m sure will be make many of my future projects much easier and pleasurable. And now it’s time for the obligatory final photos.
I purchased a new ROS about two weeks ago, as my old palm sander is on its last legs. After a lot of deliberation, I settled on the Milwaukee 6021-21, and I have to say so far it’s been great . Last weekend I spent a few hours in the shop, and made the adapter shown below, to connect the it to my Shop-vac. The total cost of the project was around $25; $20 of that being for the pool vacuum hose.
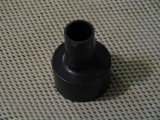
A 2-1/2" to 1-1/4" reducer that fits onto then end of a standard Shop-vac hose.
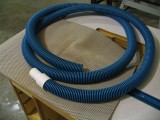
A section of cheap 1-1/4" pool vacuum hose, cut to roughly 12 feet in length.
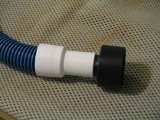
The stock end of the hose, fits snugly over the small end of the reducer.
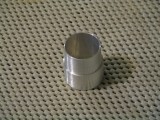
A custom adapter turned from alluminum. The end that fits into the sander has a 1 degree taper.
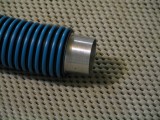
The strait end of the adapter fits snuggly into the cut-off end of the hose. For a permanent bond I used a dab of 30 minute epoxy.
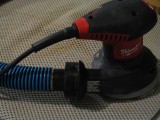
Hooked up and ready to sand.
Construction is finally done. Ok, It’s not completely done, but finishing and electrical will be a piece of cake compared to construction of the cabinet. I won’t be able to do any finishing this weekend, but hopefully by the end of next week This project will be complete, so I can move onto some simpler projects.
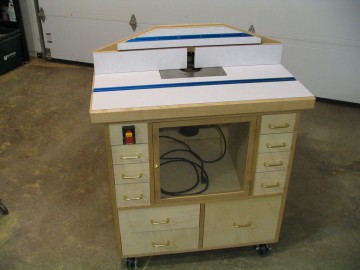
I haven’t had much time to work in the shop over the last two weeks, but I’ve made some progress, I’ve managed to finish off the top & I’m partway done with the fence. Hopefully by this weekend I will have the fence done, and be ready to apply a finish.
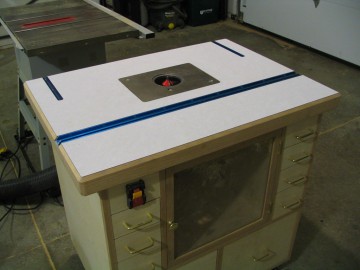
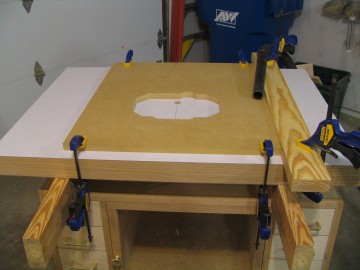
Last time, I demonstrated how to make templates for routing the recess for a lift plate. In this post, I’ll demonstrate how to use those templates to rout the recess.
Step one – Align the through hole template, and drill a starter hole all the way through the top. To ensure good alignment, I clamped a jointed 2×4 perpendicular to the front of the top, this gave me two good edges to reference the templates off of.
 Continue Reading…

