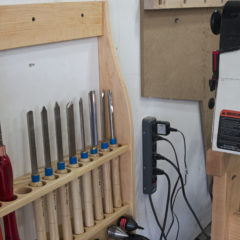
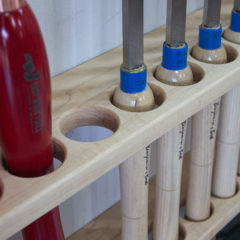
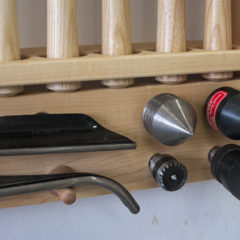
After the honeymoon and vacation it took a little time to get back into the swing of thing, but I’m finally back in the grove and knocking out projects. This project was a quick one to help store & organize my new turning tools.
Reference:
I’ve been very busy lately with the wedding and everything surrounding it, but I’ve still been able to squeeze in a little shop time here and there. Not wanting to start a large project, I’ve just been practicing with a set of turning tools I purchased. Since I’ve spent a decent amount of time using them, I thought now might be a good time to review them.
Shortly before I finished my bench grinder project, I ordered this Benjamins Best 8 piece set to practice grinding and turning with. I haven’t used HSS turning tools regularly in almost two decades, and the last time I did, I didn’t sharpen them myself (thanks dad). Thus I thought it would be prudent to learn to grind using an $80 set, instead of on individual tools that cost $100+.
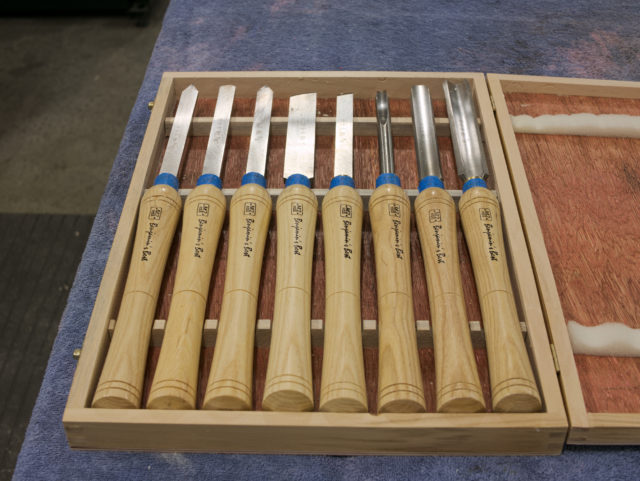
The set & it’s case.
Continue Reading…
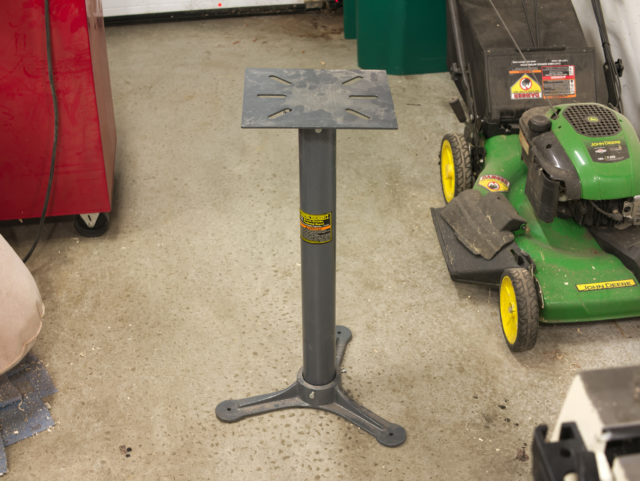
The final step to get the Baldor up and running was creating a proper base/stand. For years I’ve used the Harbor Fright model shown below. I’d love to make a stand like Doc made, but I just don’t have the time for that right now, maybe in the fall. Thus, to get by till I have time to make a more proper one, I made some upgrades to the Harbor Fright stand earlier this week.
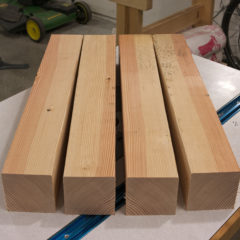
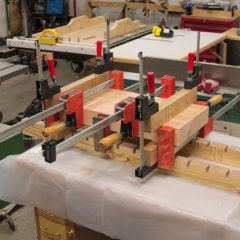
The first step in the process, was to pick up a nice Douglas Fir 4×4 at the local big box store to make the top. I found a really nice 8 footer at Menard’s, that I cut into 4 pieces and then rough milled to size before laminating them together.
Continue Reading…
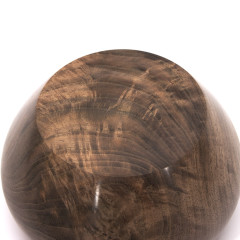
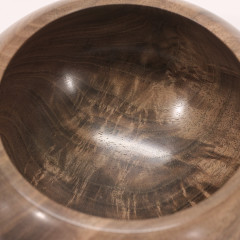
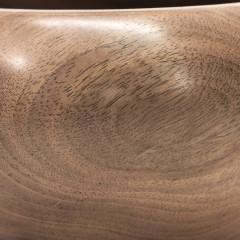
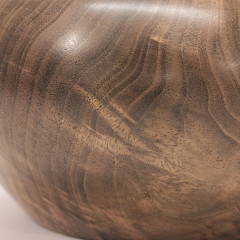
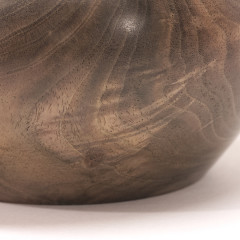
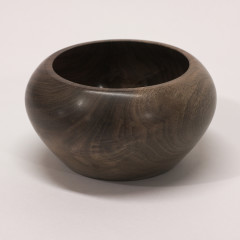
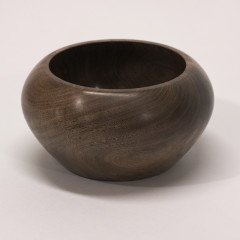
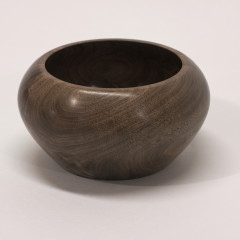
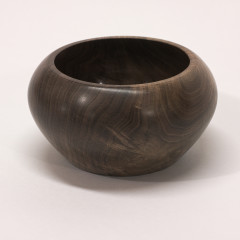
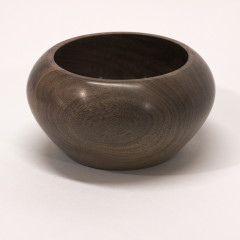
I started this bowl before Christmas, and I was finally able to finish it up Wednesday night, after three and a half months of drying. I could say a ton of stuff about this bowl, but the most important thing I want to say, is thank god it’s done. Seriously this bowl is possessed or something, as it tried to kill me twice Wednesday night. Both times it came out of the chuck at speed barely missing me, yet showed almost no signs of damage.
It was even temperamental during the finishing process. I used Doctors high build friction polish, which is usually easy to apply. However I had to apply and strip the finish three times to get it to my satisfaction. Thankfully Jillian loves it, and that’s all that really matters.
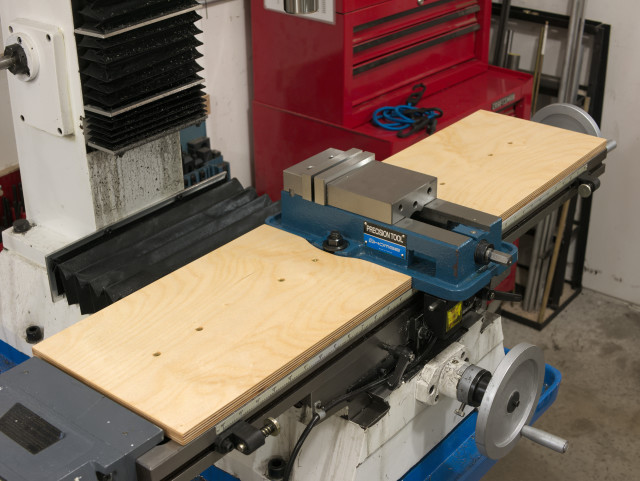
Table covers have been on my projects list since I purchased my mill, but for one reason or another I kept putting off making them. I don’t know if it was the alignment of the planets or what, but today I magically had some free time to make them. I must confess I originally got the idea from Tom Lipton.
The design is pretty simple, It’s nothing more than 5/8″ Baltic Birch plywood shaped to fit the table, and around the vise. The covers are held in place by ash blocks that fit down into the middle t-slot. In the picture below you can see the screws holding the blocks fast. Finishing them was probably a waste of time, but but nonetheless I gave each cover a heavy slathering of mineral oil.
