when I got my new table saw, one of the things I had to do away with was my permanent miter saw bench. I’ve never used my miter saw for much more than cutting stock down to rough size. However I could never do with out it, because cutting long boards to length on the table saw is not very save, because of how hard large boards are to control. Thus I decided I needed some form of miter saw bench/stand. I looked at several models, and I rejected all of them, because they were poorly built or had no out rigger legs.
Since buying a stand wasn’t an option I decided to design my own. Below is what I came up with, it’s made from roughly $30 of SYP construction lumber. Continue Reading…
Until mid August I had a 12″ bench top drill press in my shop, that I got as a college graduation gift from my dad. It had a powerful motor, but like most bench tops a small throat capacity. Because of the limited throat capacity I never built a table for it. When it gave up the ghost, I replaced it with a Jet JDP-17DX, and immediately added a table for it to my to-do list.
Fast forward to last weekend, and the table reached the top of the list. After settling on how I thought I was going to build the table, I went shopping for supplies. The first stop was the woodworking store to pick up some t-track & star knobs to go with it. As usual I browsed the lumber racks, & hand tools looking for anything new or interesting. I usually avoid the big power tools, but for some reason I decided to look them over anyway. After a few minutes I worked my way over to the drill press section and came across a Woodpeckers drill press table. After playing with it a little bit and seeing it was on sale for $119 I decided to buy it instead of making my own table.
I probably could have made something roughly equivalent to it for half the price, but right now I value my time more than a few extra dollars in my pocket. Since bringing it home, I’ve played with it some and the only thing I don’t care for are the work piece hold downs. They’re a good design but frankly I doubt I will ever use them, because I can’t think of the last time I felt the need to clamp a piece down. I really like the fact that the fence is short, yet can be slid side to side so you can use the stops on wide boards. The replaceable insert is pretty nice as well as it’s a 1/2″ thick and has leveling screws. The insert for my stock table was 1/8″ and had no leveling ability, thus it was pretty useless. Hopefully this table holds up to my sometimes heavy handed use, If it doesn’t I’ll be sure to write about it.
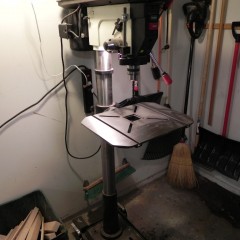
Before
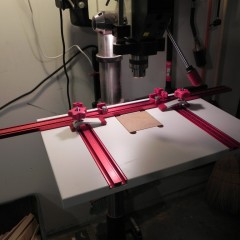
After
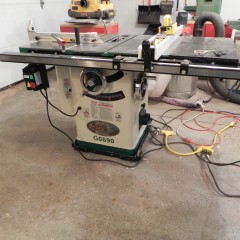
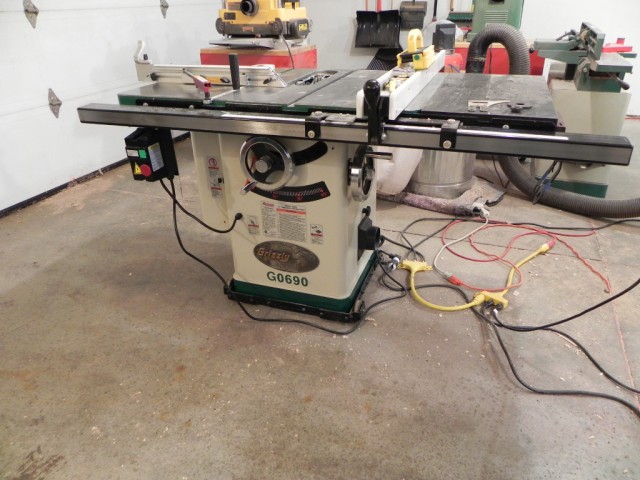
Since my last post, a substantial change has taken place in my shop. Mid November I replaced my Delta contractors saw with a Grizzly G0690 cabinet saw. I have been wanting a cabinet saw for a while now, because I have out grown the capabilities of my old saw. The main upgrades over my old saw, are horsepower (3 vs. 1), greater depth of cut 3-1/8″ vs 2-3/8″ and a greater ripping capacity 30: vs about 22″.
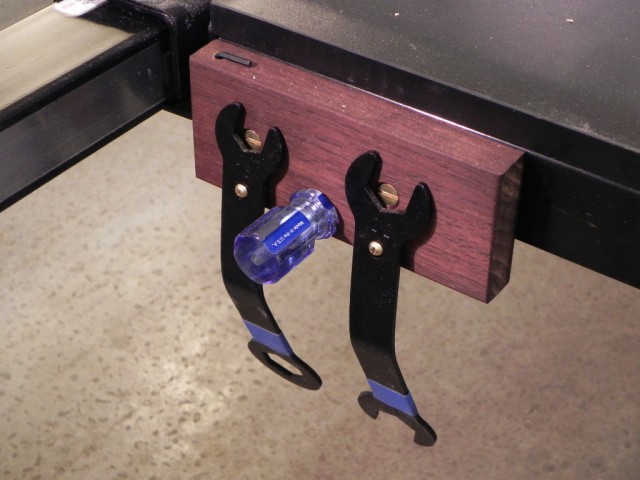
The first thing I did once got the saw set up and tuned was make a tool holder. It’s nothing fancy, just a block of Peruvian Walnut that has a few screws & holes in it. As you can see below, it holds wrenches for changing the blades, as well as an Allen key & Phillips screwdriver for adjusting the inserts. I mounted in low enough on the right wing, so that it doesn’t interfere with the fence, but yet was still easy to get at.
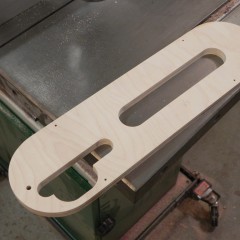
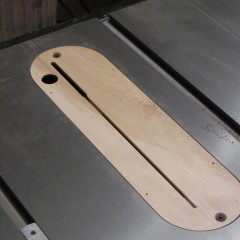
The second thing I made was a template for making inserts. I have to say I was less impressed with the design of the inserts & splitter. Nothing is out right wrong with them, they are just designed in a way that makes it harder to make inserts. The tow main issues are that when fully retracted the blade is just over 1/8″ below the top of the table, and when fully raised the splitter adjustment mechanism is also about 1/8″ below the table surface. Those two things combined with the size of the hole needed to adjust the splitter, makes making an insert more tedious than I think it should be. Below is the template and a zero clearance insert made from it.
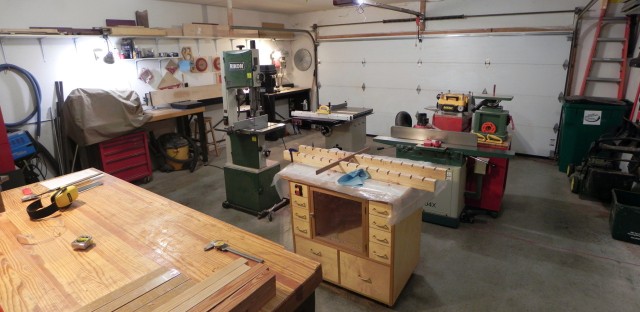
The most important thing I’ve done since I got the saw was redesign the shop layout. since the saw has dust collection on its right side It now faces from side to side instead of front to back. additionally I re-positioned the joiner and oscillating spindle sander so that I have 360 degree access to my router table. Since I don’t have a true bench yet (I need more space) It has become a substitute work bench. Hopefully this layout will work until i get a bigger shop.
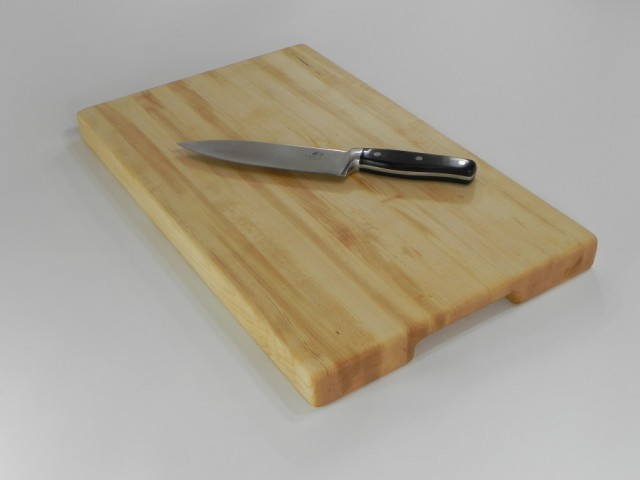
The long grain cutting boards, are proving very popular, the shots below are of the second batch. The custom order Purpleheart board was more work than I thought it would be. when i was routing the edges it burned a lot more than I remember, maybe it was this specific board, or maybe my 1/4″ round-over bit is getting dull. I’m taking vacation later this week and when i get back I’ll be starting on batch 3 as I have 5 more boards on order.
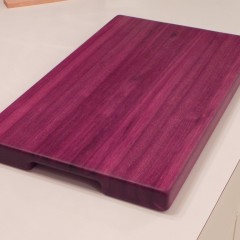
Purpleheart
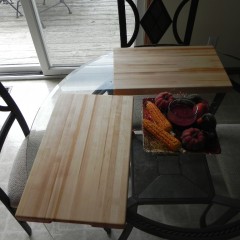
4/4 Hard Maple
It’s almost the holiday season, and that means it’s time to start batching out projects to sell. This year I’m making long grain cutting boards. As usual, I’ve held true to my signature style of rounding over every edge. The new thing I tried this year, was large finger reliefs to make the boards easier to pick up.
Specifications:
width: 12.25"
length: 19.875"
height: 1.5"
