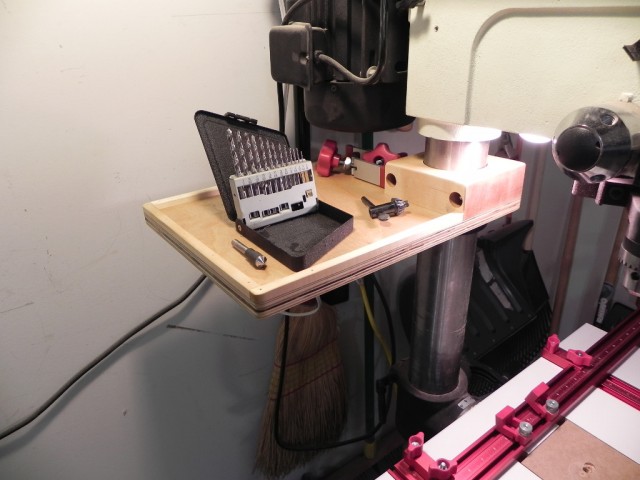
A while back I saw this tip in fine woodworking on how to make a drill press accessory shelf. I thought the shelf was a great idea, because it allows you to keep other bits, and the chuck close at hand, but off the main table. The shelf I made is slightly large than the one in the article, and it adjustable, as it’s a loose fit around the column.
I love just about everything about my Rikon 10-325 14″ bandsaw, It has plenty of power, accuracy, and re-saw height. I got it on sale from Highland Woodworking, for $800 if memory serves, and with some starter blades and shipping it was delivered to my door for a little over $1000, so it’s a pretty god deal as far as bandsaws go. The one thing I don’t love about it, is the tool holder it came with. Short of swapping out the motor, everything can be adjusted with the 4 Allen keys and 2 open/box wrenches that came with it.
The conundrum is that the tool holder that mounts to the spine is only for the Allen keys. Thus You have to find a place to store the wrenches. It doesn’t sound like a big deal but the wrenches are needed every time you want to change the blade or adjust the guides. Since storage space is at a premium in my shop, I usually spend several minutes trying to figure out what drawer I put the wrenches in last time I used them. Last week I decided enough is enough, and I made a new tool holder. It’s made from some scrap 8/4 hard Maple, and rare earth magnets. The Allen keys sit in holes drilled into the top of the holder just like the original, while the wrenches are held in-place by the magnets.
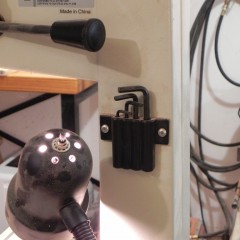
Origonal
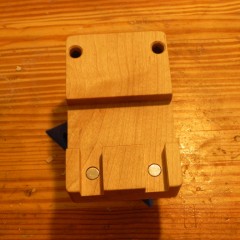
Finished
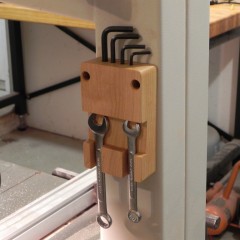
Mounted
The last and most important step in making a cross cut sled, is attaching the fences to the base. The most common method of doing this is making the fences parallel to the front and back of the sled base. The issue with this methods is that it’s based on the assumption that the front and back of the base is perpendicular to the saw blade. As I mentioned previously I use the two separate bases method. This method gives you a reference edge perfectly parallel to the saw blade, because the edge was made by the saw blade.
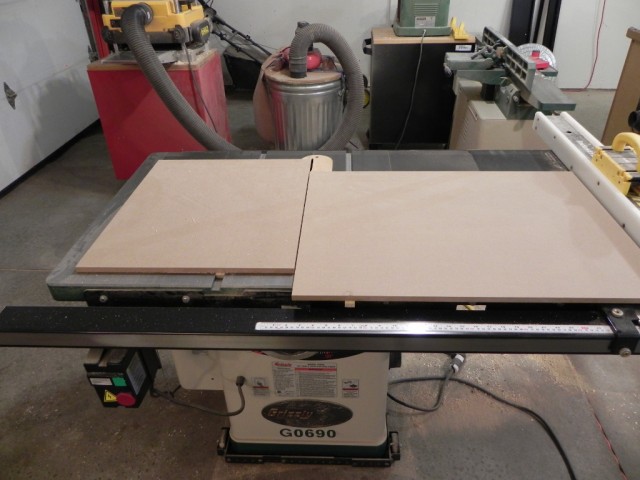
Trimmed bases
Continue Reading…
Last time, I mentioned that I like to use bolts to attach fences to the base. This time I’m going to show how I customize bolts. Since I like to use 1/2″ material for the base, I thin the bolt heads so that I can make the counter-bores in the base as shallow as possible. This also allows me to used thicker (stiffer) grade 8 washers. Since MDF is soft, run of the mill zinc coated washers tend to deform and generally destroy the MDF around the hole. The other thing I do is shorten my bolts so that they don’t protrude from the top of the fence. If you design your fence around common bolt lengths, this step can be omitted. While I use my metal lathe to thin the heads and shorten the bolts, the same tasks can be accomplished with a bench grinder & cut-off blade equipped Dremel tool.
The first step in modifying the bolts is something familiar to all woodworkers, jig making. The photo bellow shows the jig used to thin the bold heads. Its just a chunk of scrap steel with a shoulder turned on it and then tapped 1/4-20. The shoulder is important for a later step. To thin the bolt heads I thread the bolts into the jig till it bottoms out, and then face the head to a thickness of 3/32″.
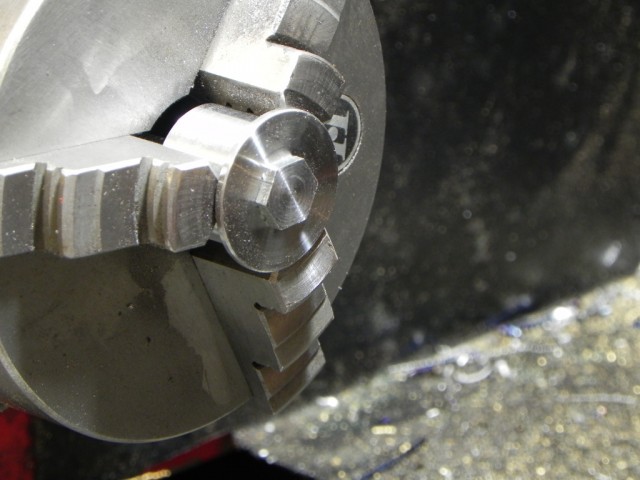
A thinned bolt head.
Continue Reading…
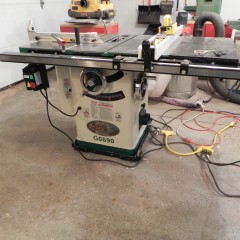
When I got my new saw, I gave my old crosscut sled to my dad since I gifted him my old saw. Thus I’ve been without a crosscut sled since late November. After a few months without it, I realized how heavily I’ve come to rely on it for pretty much every crosscutting task in my shop. I made a video on how to make a simple crosscut sled last time I made one, but I’ve learned some new techniques since then and my needs have also changed, so I thought I should document the construction of what I think is my forth sled.
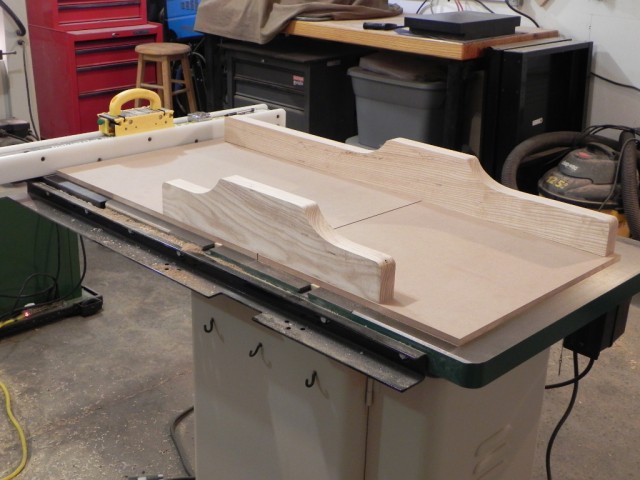
Mockup
Continue Reading…

