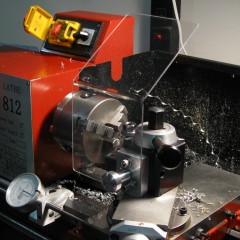
I’ve never really been happy with the change gears set-up for my Harbor Freight 8×14. Don’t get me wrong it works exactly as it’s supposed to, it’s just finicky to the point that I never want to change it. Now that I have a mill and the appropriate tooling, I’ve decided it’s time do do something about it. This video is the first in a series that will document the changes I’m making in the hope of improving the change gear system. As unusual, I’ll post plans and relevant photos.
Continue Reading…
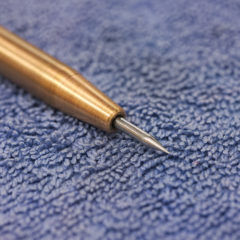
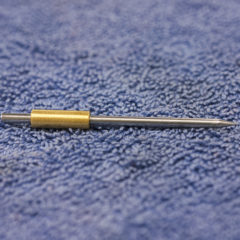
Last weekend I Finally got around to a project that’s been on my todo list for a long long time. I made what I hope will be my last scribe/ scratch awl. I designed it to work well for both woodworking and metalworking. The body is made from C544 phosphor bronze, and the cutter is a 3/32″ HSS drill blank. The cutter is positively located inside the body by a piece of scrap brass that is loctited to it.
Continue Reading…
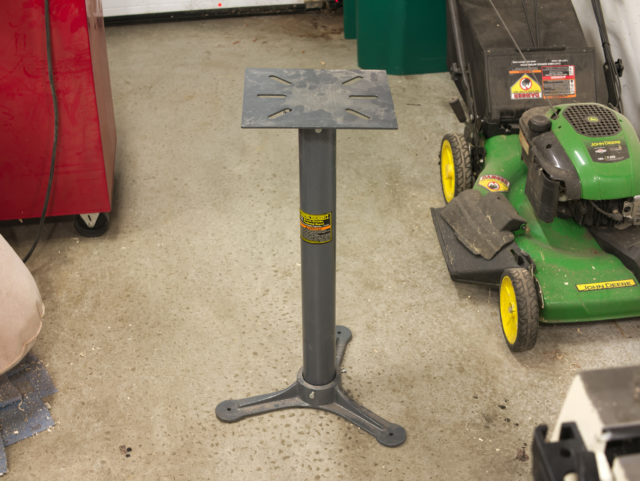
The final step to get the Baldor up and running was creating a proper base/stand. For years I’ve used the Harbor Fright model shown below. I’d love to make a stand like Doc made, but I just don’t have the time for that right now, maybe in the fall. Thus, to get by till I have time to make a more proper one, I made some upgrades to the Harbor Fright stand earlier this week.
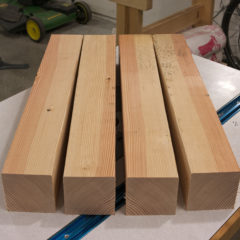
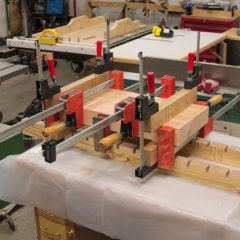
The first step in the process, was to pick up a nice Douglas Fir 4×4 at the local big box store to make the top. I found a really nice 8 footer at Menard’s, that I cut into 4 pieces and then rough milled to size before laminating them together.
Continue Reading…
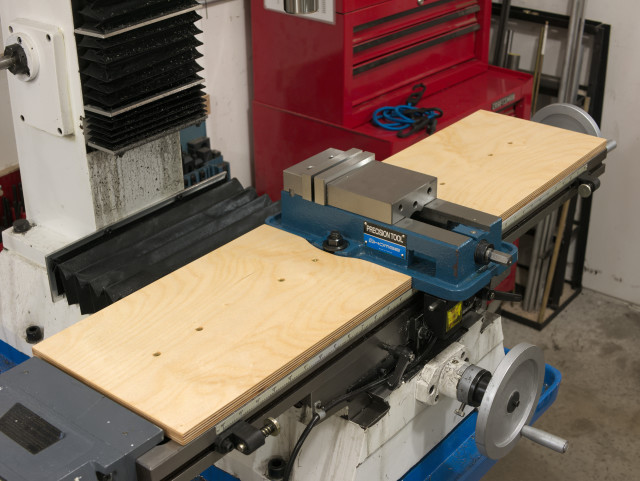
Table covers have been on my projects list since I purchased my mill, but for one reason or another I kept putting off making them. I don’t know if it was the alignment of the planets or what, but today I magically had some free time to make them. I must confess I originally got the idea from Tom Lipton.
The design is pretty simple, It’s nothing more than 5/8″ Baltic Birch plywood shaped to fit the table, and around the vise. The covers are held in place by ash blocks that fit down into the middle t-slot. In the picture below you can see the screws holding the blocks fast. Finishing them was probably a waste of time, but but nonetheless I gave each cover a heavy slathering of mineral oil.
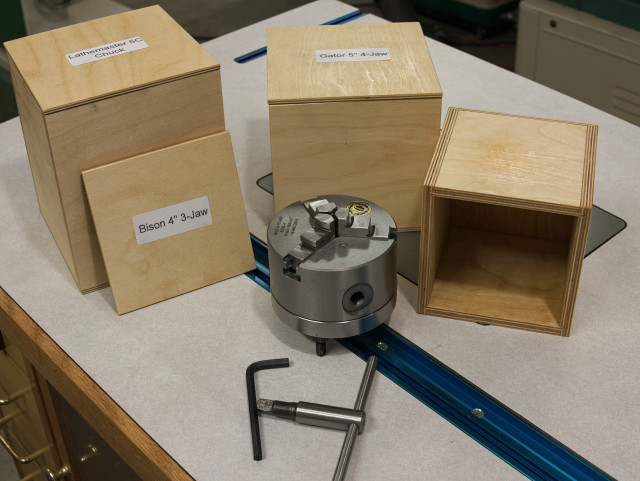
I didn’t get a lot of shop time over the last week, but I was able to finally make some storage boxes for the chucks I purchase late last year. I used the same technique that I used in my simple plywood box video.
