My friend and I finally had some free time that overlapped , so we finished off my branding iron tonight. The first thing we did was make custom soft jaws for the vice. the Bridgeport we used was set up as a 2 axis conversational system, so something like the soft jaws and my branding iron was dirt simple to make. Milling was a slow process, because the mill only had a max speed of 4200 rpm, and we used a 0.050″ diameter 2 flute end mill. The depth of cut was 0.020″ and the feed rate was only 1 ipm.
after we finished milling and cleaning up, I headed home and turned the outside diameter of the head down to it’s final dimension on my lathe. With the hard work done, i was able to play with the iron a bit. It took a lot longer to heat up the brass head with a propane torch than I thought it would (~ 3 minutes). I got the best results by burning the wood, and then sanding back the surrounding over burn with a sanding block.
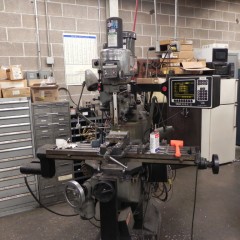
The Mill
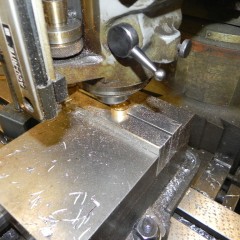
Soft jaws
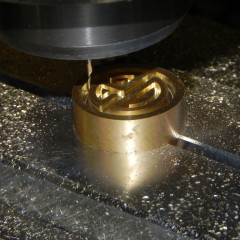
2 axis CNC milling
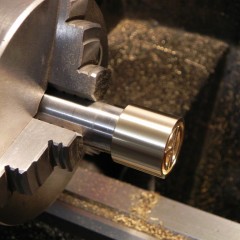
Turning the outside diameter
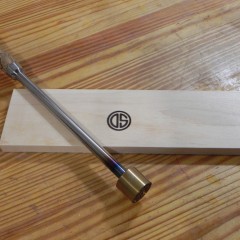
such a pretty Iron
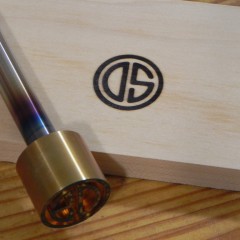
check out that rainbow
I’ve reached a point with my woodworking skills that I feel the need to start marking my work. Who knows, maybe 200 years from now my pieces will be collectors items and finding my mark on a piece of furniture will make it worth a fortune. Well I can day dream about that being the case anyway.
The first step in the process of making my branding iron was to gather the raw materials. Miro endmills & 1″ diameter brass rod wasn’t something I was going to find in my city, but thankfully they are readily available via eBay. The shafting material was 3/4″ O1 drill rod i pulled from my metal scrap bin, and the handle material was an exceptional spalted hard maple turning blank that I picked up at the local woodworking store for $3.45.
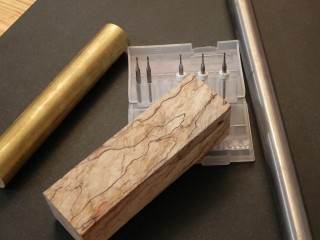
The raw materials, Spalted Hard Maple, O1 drill rod, 360 brass, & micro endmills.
Once I had the raw materials in had, I started turning down the shaft. This took up more time than any other part of the project, because I was starting with 3/4″ drill rod and I was taking it down to 3/8″. I didn’t really have the proper inserts for my indexable carbide tooling so I just used 8% Cobalt HSS bits and went slowly. once I had the shaft to size, I knocked the corners off the handle blank with a block plane and epoxied it fast to the shaft.
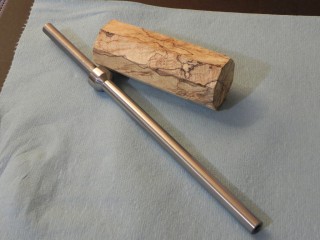
The finished shaft and the handle blank ready for joining.
Once the epoxy, had fully cured, I set to work shaping the handle. Since I have no wood turning tools, I just used a metalworking parting tool, to approximate the shape of the handle. Once I had it, roughed to shaped, I set to work with files and sand paper to finalize the shape of the curves.
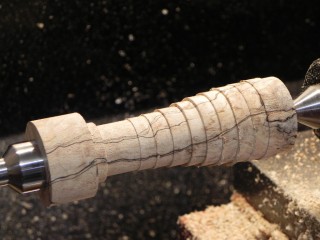
The roughly shaped handle.
To finish off the handle I used my favorite simple finish, Danish oil & wax. The oil does a wonderful job of popping the grain, and will offer plenty of protection for the seldom used tool. Hopefully in my next post, I’ll have some shots of the head getting milled.
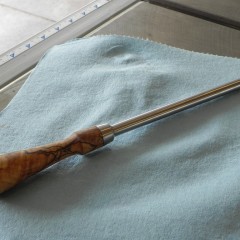
The finished handle & shaft.
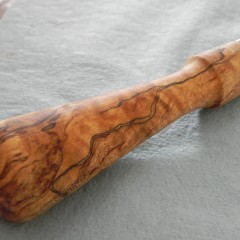
Spalted Maple is an awesome looking wood when it's finished with oil.
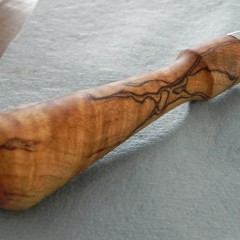
More lovely spalting.
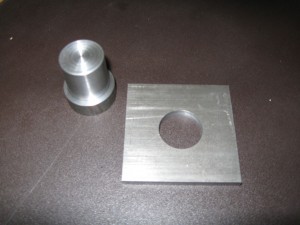
Last night I finished up the mounts for the leveling feet of the utility benches I’m making. Of every thing that needed to be done, the mounts where the one thing I was concerned about. Somehow I needed to figure out how to weld the two pieces together, without imparting a lot of distortion in the final part. After reading a bunch of posts on Welding Web, and asking a few question I determined that the best way to do this was by pre-heating the two pieces before welding them together. I used a cheap propane torch to preheat them to over 500°F. I’ll let the pictures do the talking, but I think it worked because the beads are nice and fluid looking.
Continue Reading…
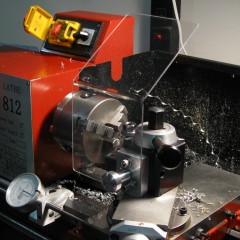
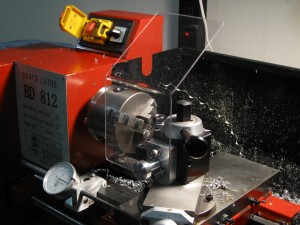
The magnets I ordered of eBay arrived yesterday, so this morning I finished up the chip shield. The Neodymium magnets are stronger that I expected, so I decided to use two instead of four. They provide enough holding force, that you need to have a firm grip on the knob to move the shield.
Hopefully this set-up with minimize the number of hot chips launched my way, while still providing an unobstructed view of the cutter.
Continue Reading…
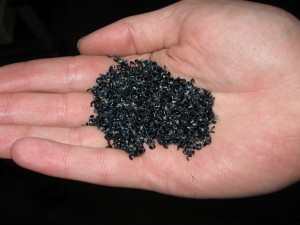
I painfully learned the lesson(again) tonight that blue chips are hot! I was turning down some 8620 to make threaded inserts, and a 2″ long helix flew up over my head, and landed on the back of my neck. After a quick “hot hot” dance, and a bandage I was back to making chips. Five minutes later I took a 9 to the chin that left a nice little mark.
So remember everyone, if you’re making chips that look like this, don’t let them land on bare skin.
