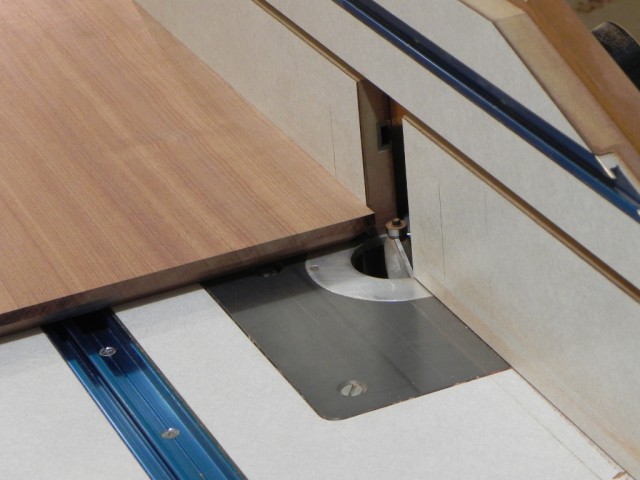
The top of the table has a 45 degree under bevel, and in my opinion the safest way to make it is with a chamfer bit at the router table. My chamfer bit it over two inches in diameter, so it’s definitely not something I want to use by hand. Even in the table, it gives me pause, because it has a lot of potential energy. It could easily launch the panel across the room, if it caught and I didn’t have a good grip on it. Thus To make the under bevel I took light cuts of no more than 1/8″ at a time. As I was taught I did both the end grain side first to maximum depth, as this lets me use a backer board on the trailing edge of the cut to prevent blow out. With the end grain done, it was easy to finish the two long grain edges.
Continue Reading…
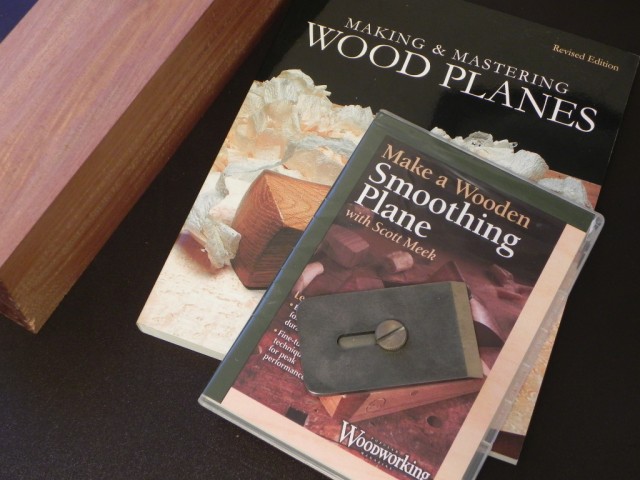
Here in central IL we’ve had the coldest winter in over a decade. Thus, in the last month I’ve spent about 5 hours total in my shop. Since I’m the type of person that goes stir crazy if I’m not doing something that’s challenging me mentally or physically, I’ve been doing a loot of reading, and planing for future projects. One of the things I’ve been wanting to do for a while is make a wooden hand plane. Iv’e read David Finck’s Making & Mastering Wood Planes, and I’ve purchased a 2″ Hock Iron in perpetration for making a plane some time this year.
To give me my woodworking fix for the week, I decided to buy Scott Meek’s Make a Wooden Smoothing Plane. The video had a lot of good info about how Scott makes his planes. Parts of the video progressed a little slow for my taste, but I expected as much when I saw the video was 149 minutes long. To be fair, this is Scott’s first video that I’m aware of, so he definitely deserves a by when you compare him the likes of garret hack and Philip C. Lowe, who’ve been teaching and making videos for years. The one thing I wish Scott had focused more on, was the harness and movement of various wood. while I have never made a plane before, I know a decent amount about wood, and it seems to me people use the wrong woods when making planes. Overall I thought the video was very well done, and well worth the $25 I payed for it.
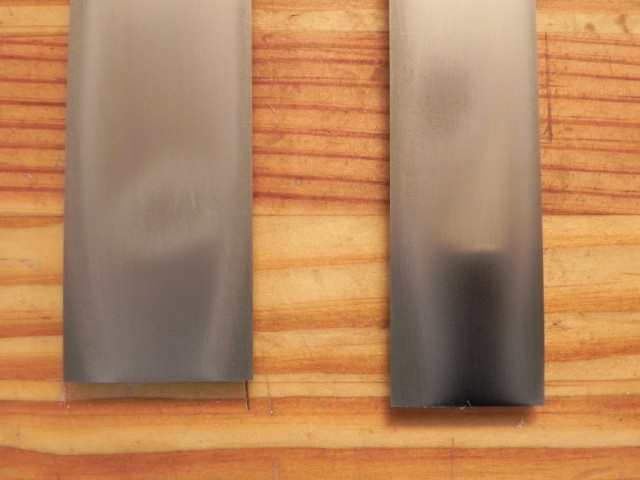
One of the things I got around Christmas time was a set of the Narex pairing chisels from Lee Valley. It took some time to get around to flattening the backs and sharpening them thanks to mother nature keeping me really busy. The flattening process was pretty easy for all the chisels except the largest two. In the picture below you can see halos on both the chisels. It took about 30 minutes of honing each to get them this flat. They are more than flat enough to use, but aren’t optically flat yet. I’m sure the’ll get there after a few honings, but for what they cost, they are well worth the price.
Since it’s been below freezing for the last week or so, I haven’t gotten any shop time. Thus, in order to get my woodworking & creative fix, I’ve been doing a lot of design work. I plan on eventually making some wooden planes, and thus I will need an adjustment hammer. Below are some shots of what I came up with. The head and shaft will most likely be made from steel. The tips will be thread brass and wood, so they can replaced easily. I’m not sure what would I’ll ultimately end up using, but right now I’m leaning towards black walnut because it’s a fairly soft hardwood.
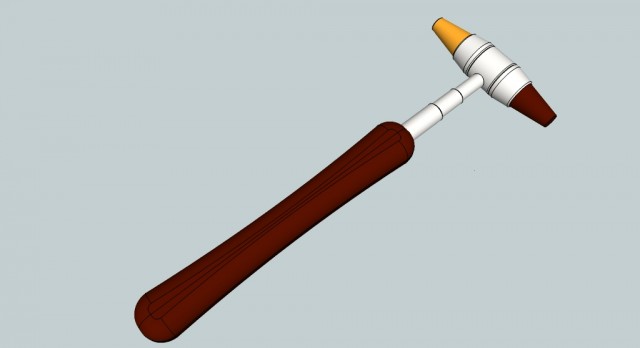
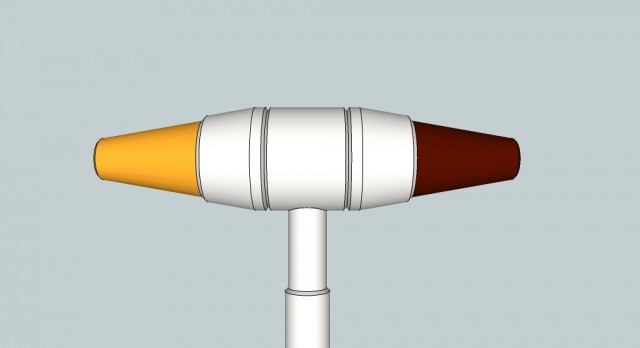
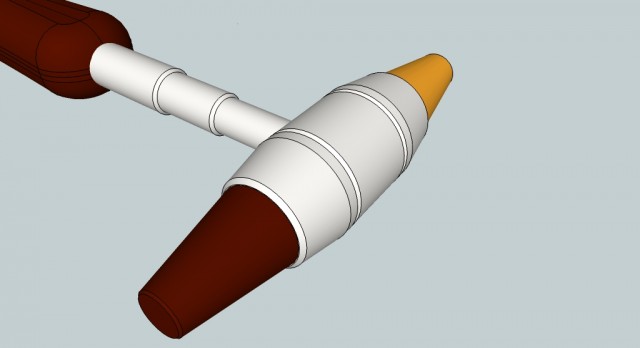
I almost forgot I took the photos, until I found them this evening. The till went together with out any major complications, and after the glue dried, it received a coat BLO, and paste wax. It’s mounted to the wall with a single drywall screw, that’s more than enough to hold the weight. I decided to make the till large enough to hold 4 saws, so that gives me room for one more. I sense a 14tpi dovetail saw in my future.

One spot open
Sliding dovetails are a wonderful thing.

