Shaping the simple side table top
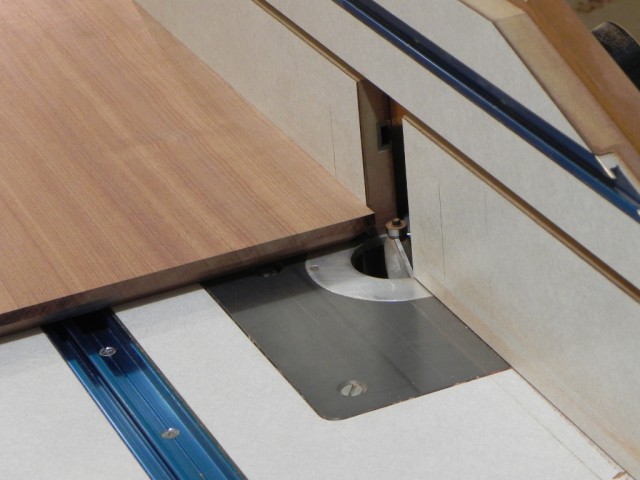
The top of the table has a 45 degree under bevel, and in my opinion the safest way to make it is with a chamfer bit at the router table. My chamfer bit it over two inches in diameter, so it’s definitely not something I want to use by hand. Even in the table, it gives me pause, because it has a lot of potential energy. It could easily launch the panel across the room, if it caught and I didn’t have a good grip on it. Thus To make the under bevel I took light cuts of no more than 1/8″ at a time. As I was taught I did both the end grain side first to maximum depth, as this lets me use a backer board on the trailing edge of the cut to prevent blow out. With the end grain done, it was easy to finish the two long grain edges.

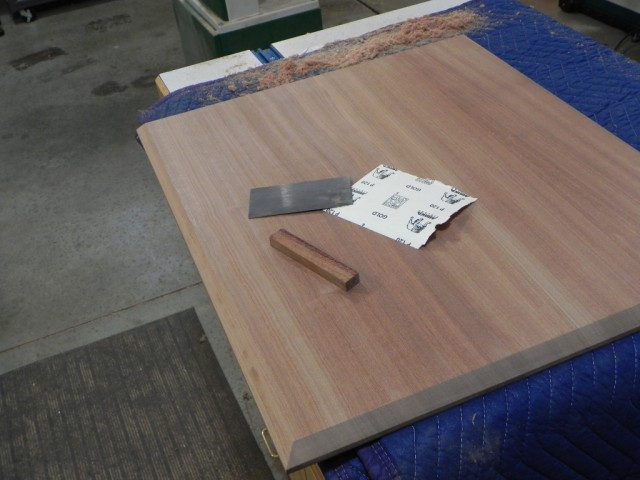
With the edges routed, all I needed to do was some sanding and scraping to finish the top off. Since Sapele is fairly tear-out prone, I expected cleaning up the glue joints in the top to be a dicey affair, but thankfully it went smoothly thanks to a freshly sharpened card scraper. The most time consuming part was sanding the end grain. While the router left a decent finish, the little tracks/lines that normally show up in end grain took a good deal of work to remove. As you can see below, I used a scrap of Jatoba as a makeshift sanding block. I started with 120 grit, then 180, and finally 240. The top and the bottom only took a few minutes with the random orbit sander to smooth.
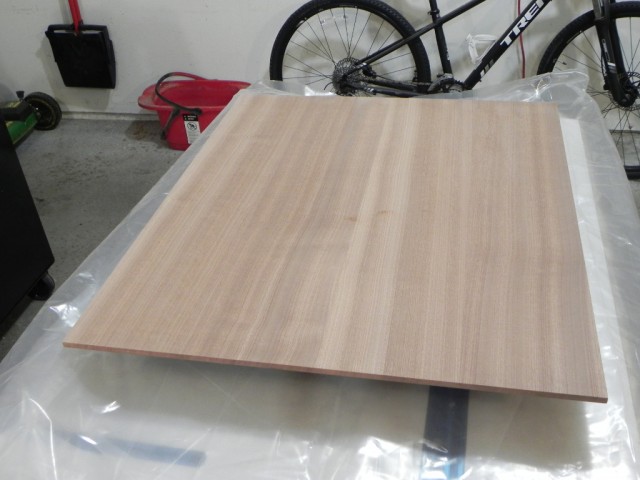
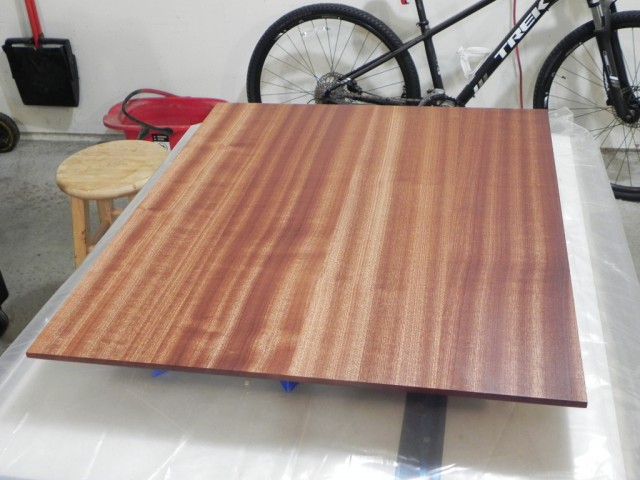
Once I put all the sanding supplies away and cleaned up the shop a little, it was time for the part of the project I’ve been looking forward to, applying a coat of oil. I use boiled linseed oil a lot on my projects, and as the picture below shows, it really makes the grain pop. I can’t wait to see what this table looks like when it’s all done and has a few coats of varnish on it. Thankfully the large template bit I order to shape the legs arrived, so I won’t have to wait long.


