Attaching crosscut sled fences
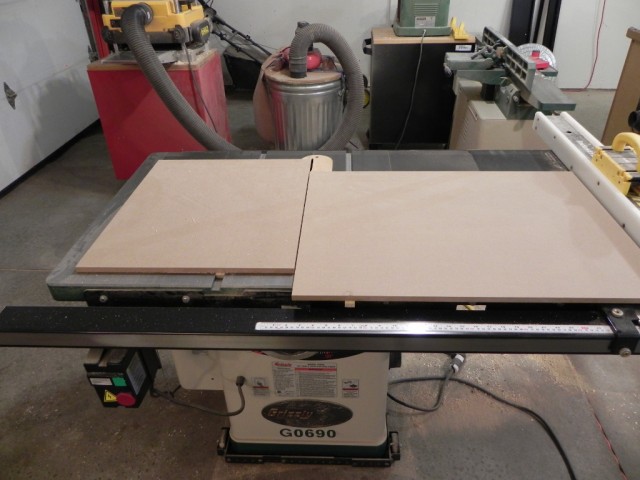
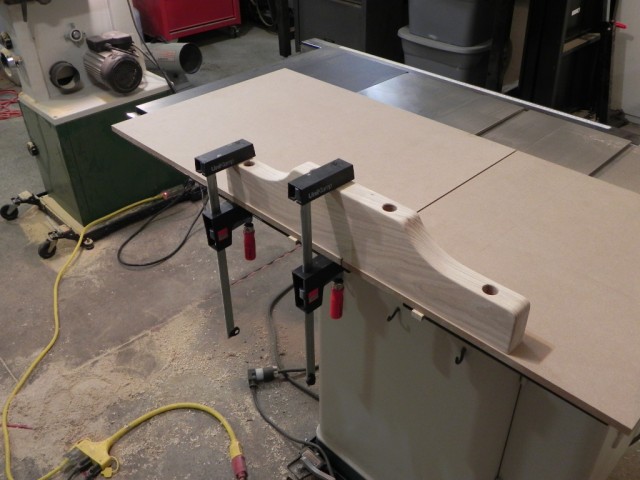
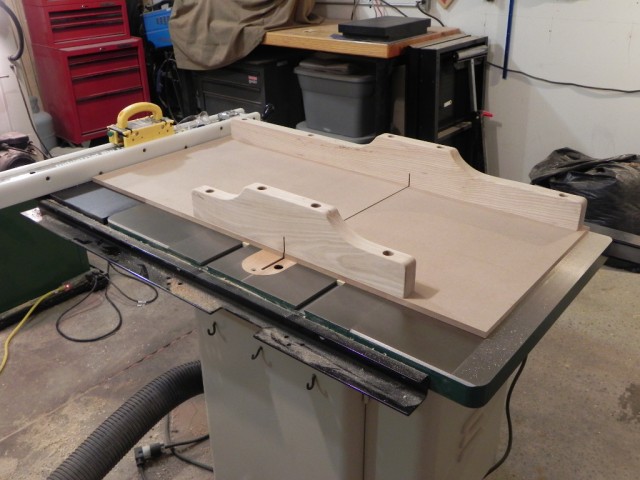
The last and most important step in making a cross cut sled, is attaching the fences to the base. The most common method of doing this is making the fences parallel to the front and back of the sled base. The issue with this methods is that it’s based on the assumption that the front and back of the base is perpendicular to the saw blade. As I mentioned previously I use the two separate bases method. This method gives you a reference edge perfectly parallel to the saw blade, because the edge was made by the saw blade.
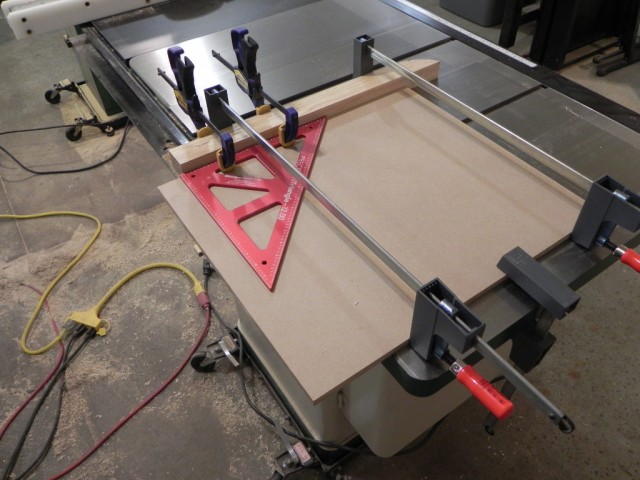
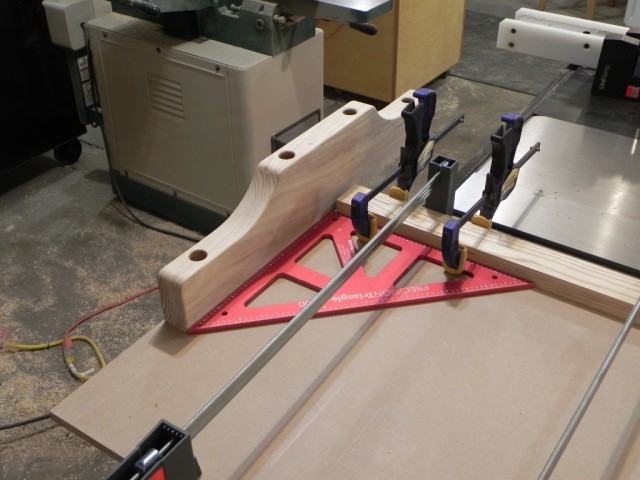
Before attaching the fences choose a base piece and a fence to start with. It doesn’t matter which ones. Once you’ve chosen, set the other parts aside . Step one (see below) is to reference off the edge created by the saw blade. To do this I recommend clamp a jointed piece of scrap to the base. The scrap of wood provides a physical stop to reference a square off of. Just about any decent square will do, but the bigger the better.
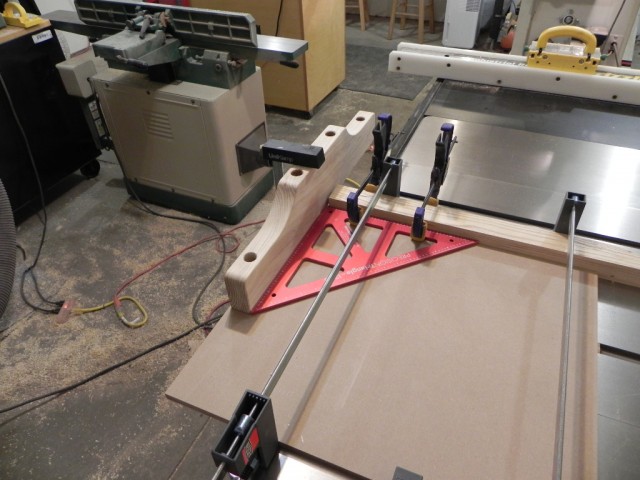
With the square in place, take your chosen fence and reference it off the other side of the square. When you have it aligned like you want, securely clamp it to the base. Take your time with this step, as getting this step perfect will pay dividends later.
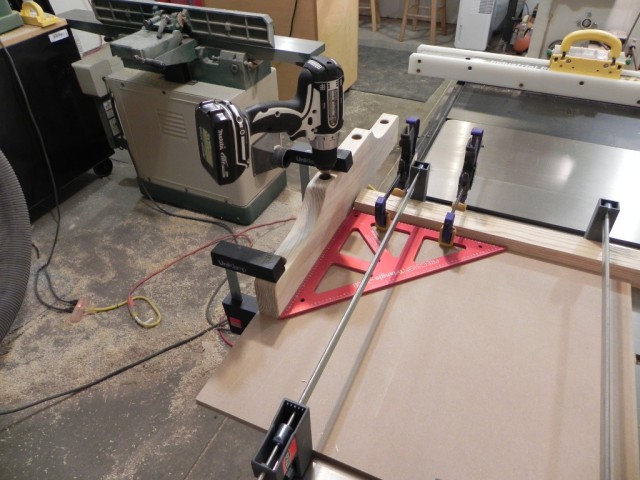
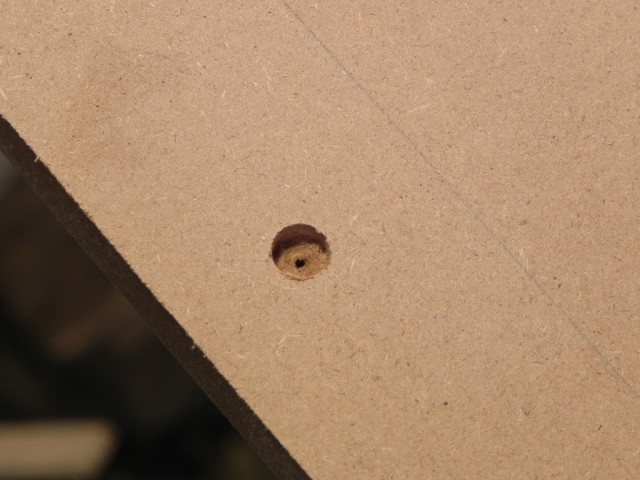
With everything securely clamped in place, chuck up the drill bit you used to make the bolt through holes in the fence. run it down through the fence and drill into the MDF just far enough to make a recess the diameter of the drill bit. It’s imperative that you don’t drill all the way through the base.
Once you have all the holes drilled, you can un-clamp the fence and square. Next take the smallest drill bit you have, and drill a through hole centered in the recesses you just made. The through hole is an alignment aide for the next step.
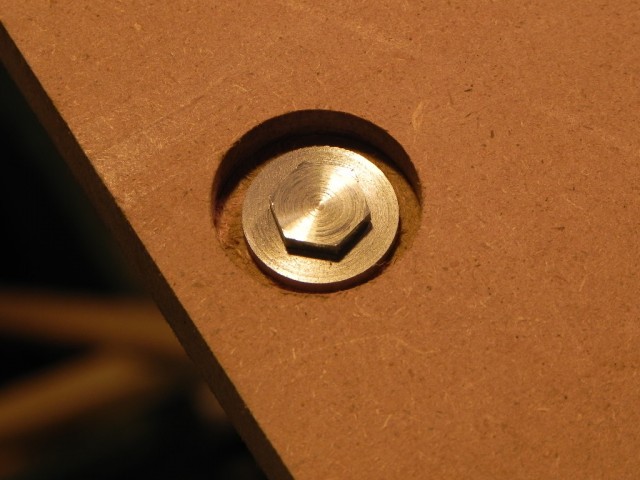
With the small holes drilled you can now flip the base over and make the counterbore holes for the bolt heads and washers. This step is best done with a Forstner bit at a drill press with a depth stop. Use a bit is large enough to give 1/16″ to 1/8″ of clearance around the washer. To make sure you down’t scratch your table saw top, make the hole 1/32″ deeper than needed to clear the bolt head. To locate the counterbore, Center the Forstner bit point over the tiny through hole you made previously. Once you finish the Forstner holes, you can flip the base back over and finish drilling the bolt through holes.
Step Five is just a repeat of steps one & two. When you have everything lined up, secure the fence to the base. Be careful not to over torque the bolts, or you will crush the MDF.
Everything from here on out is a repeat of something you have already done. To finish attaching the fence, position the other side of the base so its edge lines up with the one you’ve been working on. Once you have it lined up, repeat steps three, four, & five and you will be half way done.
To finish of the sled, repeat steps one through six with the second fence. When you have everything done, you can check how square your fences are using the five cut method. If you’re not familiar with the five cut method, you can see William Ng demonstrate it here. When I checked my sled, it was accurate to 0.0009″ per foot. Even if I start doing work for NASA, I’ll be good to go when it comes to square cuts.


Slick. I don’t use a table saw, but I like your design.
Thanks Dan for the information. I think I WILL try the two piece table method you described. Appreciate your help.
Dan
If you saturate the counter ores with superglue it will penetrate the pores and provide more support for the bolt/washer.
Thanks for the posts. Looks like I will be making a sled for my table saw this winter using your methods.
Laurence