Router Table (Pt. 12)
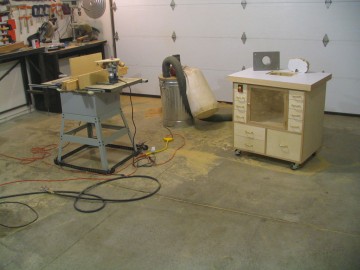
Last time, I demonstrated how to make templates for routing the recess for a lift plate. In this post, I’ll demonstrate how to use those templates to rout the recess.
Step one – Align the through hole template, and drill a starter hole all the way through the top. To ensure good alignment, I clamped a jointed 2×4 perpendicular to the front of the top, this gave me two good edges to reference the templates off of.
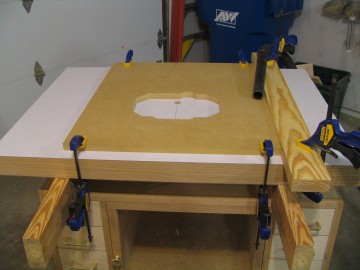
Step two – Use a pattern bit, to trace out the through hole. In order to get a clean cut, I’d recommend taking several passes, lowering the bit an 1/8″ – 1/4″ after each pass. Depending on the length of your bit, you can remove the template after a few passes, and reference off the side of the slot you just routed.
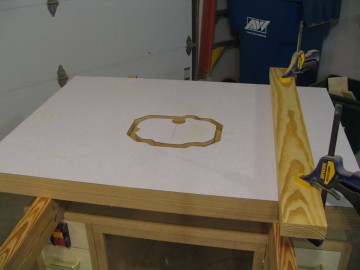
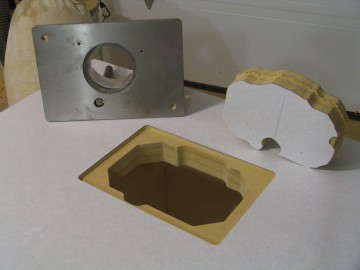
Step three – After routing as deep as you can with the pattern bit, secure the recess template to the top and rout out the recess.
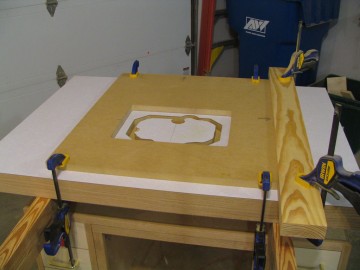
Step four – Depending on how thick your top is, you might be able to skip this step. My top is 2-1/4″ thick, so in order to completely rout out the through hole, I had to flip the top, and use a flush trim bit, to remove the last little bit of material.
Step five – Grab a broom, and start cleaning up all the MDF dust.

