Router Table (Pt. 11)
Since I’m still rebuilding the top, I thought I would share with you how I make lift templates. The process is cheap, simple, accurate, & works for both insert plates & lifts.
Step one – Cut two large pieces of MDF to the same size, the pieces I used where 18″ wide by 24″ long.
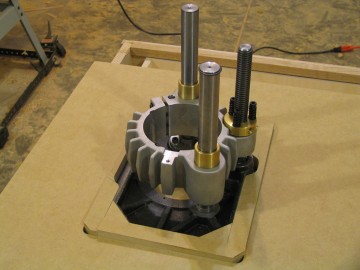
Step two – Place your lift, on one of the pieces of MDF, and then carefully align it. Once the lift is aligned to the edges, carefully surround it with scrap pieces of MDF. To hold the scrap in place use double sided tape. Take your time during this step, you want absolutely no gaps around the lift.
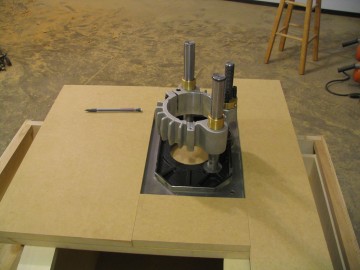
Step three – Use a flush trim, or pattern bit, to rout out the material inside the scrap pieces of MDF. Please note, that the radius of the bit must be the same as the corners of the lift. When done, you will have an exact copy of the lift top.
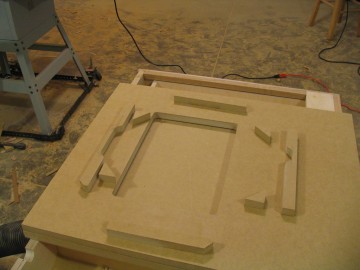
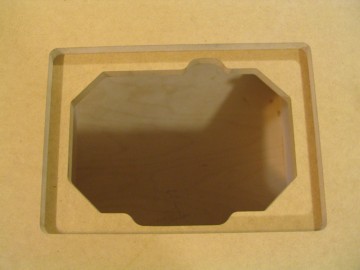
Step four – Double side tape the routed piece of MDF to the second large piece. Sit the lift inside the recess you just created, and use yet more scrap MDF to outline what will eventually become the lip the lift sits on. The bottom of the BenchDog is fairly complicated, so it took me an hour or so to shape all the little pieces so they fit snugly.
Step five – Again using double sided tape, securely align all the little pieces in side the routed recess.
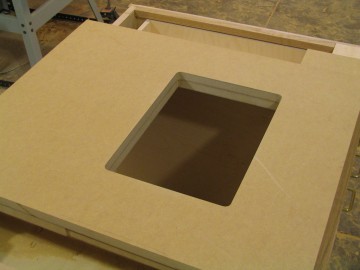
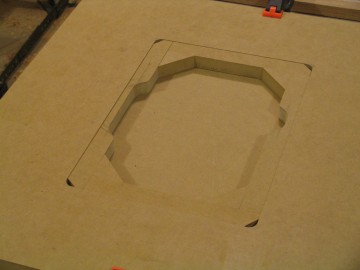
Step six – Again using a flush trim, or pattern bit, rout out the material inside the scrap pieces of MDF. When done, you’ll have two templates that will make the job of recessing your router lift/plate into the top of your router table a cake walk.

