Woodworking tools for measuring and layout
A Recent forum post I read got me thinking about about the myriad of tools used for measuring and layout. It’s truly amazing how many different types of tools people use, and the reasons they use them. Thus in the spirit of the forum post, I’m going to show the tools I use, and explain why I prefer them to other options.
Marking Tools
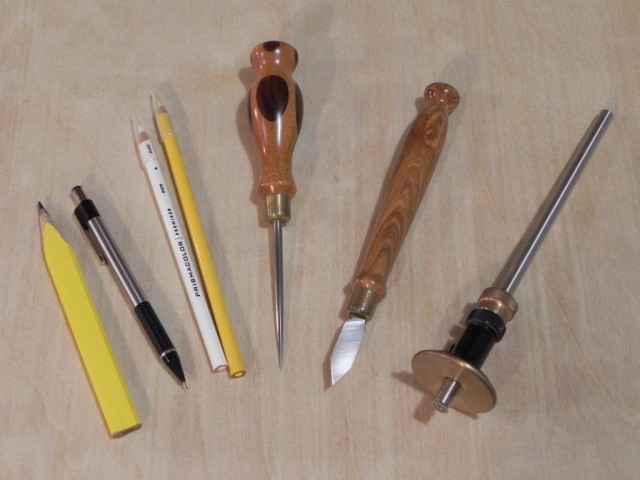
I have a range of marking tools in my shop as seen below. Four laying out cut lines on rough boards before breaking them down I use a run of the mill carpenters pencil. It’s easy to sharpen, makes nice thick highly visible lines, and it holds up well to the abuse associated with the work it’s used for. For layout work post the initial milling, I use a 0.5mm mechanical pencil. The fine mark it leaves is great for accurately laying out final dimensioning cuts.
Unlike the carpenters pencil, it’s fragile, and thus it requires a little more care while using. For example, its very easy to break the lead while marking on large pore woods, if to much pressure is applied. For dark color woods where the mark left by a regular pencil is hard to see I use colored pencils. I want to be clear that these aren’t children’s colored pencils, but artists ones that cost two or three dollars each. They dull quickly because they are soft, but if you keep them sharp, they provide highly visible lines.
For hand tool work I use traditional marking tools. For marking with the grain I use a scratch awl. Though the one I have works, I’d prefer one with a grip more like that of a pencil as well as a shorter shaft, because I feel those to features would offer more control. For general cross grain work I use a spear point marking knife that I picked up on eBay. For cross grain work Like marking out dovetail baselines, I currently use a Veritas wheel marking gauge. The wheel gauge is a good tool, but I prefer a more traditional knife tip blade for harder woods. The knife tip blade seems to severe the wood fibers more easily than a wheel.
Measuring Tools
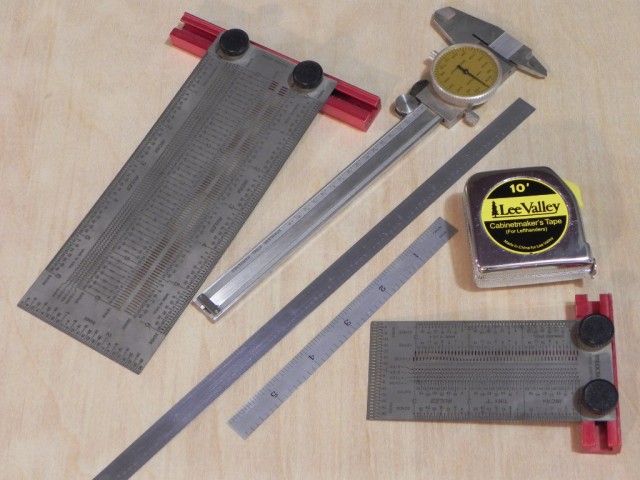
For laying out lines parallel to, and close to an edge, I use one of my Incra T-rules. They work in conjunction with a 0.5mm pencil to provide accurately place lines. Some people prefer a combination square, but I prefer these because I don’t need to adjust the square ever time I want to make a line. For short measurements, I use a 6″ or 12″ 4R rule. They are fairly cheap, accurate, and will last a lifetime of properly cared for. I use them the most for setting up work, such as off setting the table saw or band saw fences. I also use them for measuring the depth of things like mortises, rabbets, and dados.
The two most used measuring tools in my shop are my fractional calipers and Veritas left handed cabinetmakers tape measure. The tape measure is small enough to comfortably fit in the palm of my hand while in use, and the numbers are large and easily readable in my dimly lit shop. I know some people think calipers are over kill for woodworking, but in my opinion they make some tasks less finicky, and a lot more enjoyable. For example if I need to plane a board down to a very specific thickness for something like splines or loose tenons, calipers make the process a lot less guess and check.
Squares & Angle Gauges
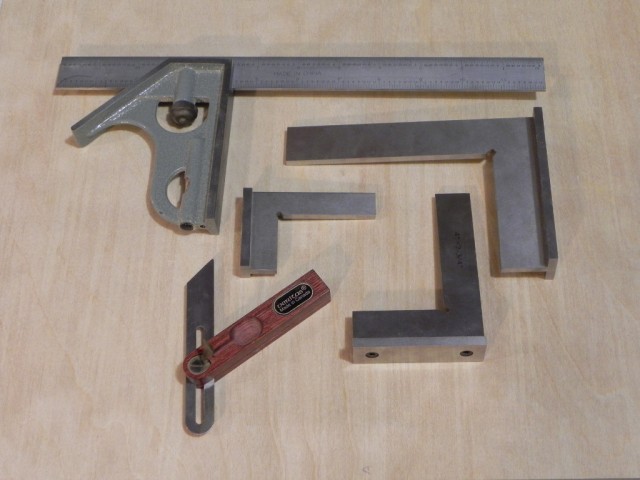
I’ve Used a lot of different squares over the years, and a few years ago I fell in love with the stainless steel ones sold by Peachtree Woodworking. They are a joy to use, because unlike a standard machinist square, they won’t fall off a work piece if your not holding it tight. If I need to make a really long line I’ll break out my import 12″ combination square. I’m personally not a fan of combination squares, as they have always felt clunky to me, even the really high end ones made by Starrett & Mitutoyo. For Random angles, I really like The Veritas sliding bevels, I have both the 4″ and 10″ models. I prefer their lever action locking mechanism, because when it’s locked it doesn’t get in the way like the standard nut style bevels do.
Triangles
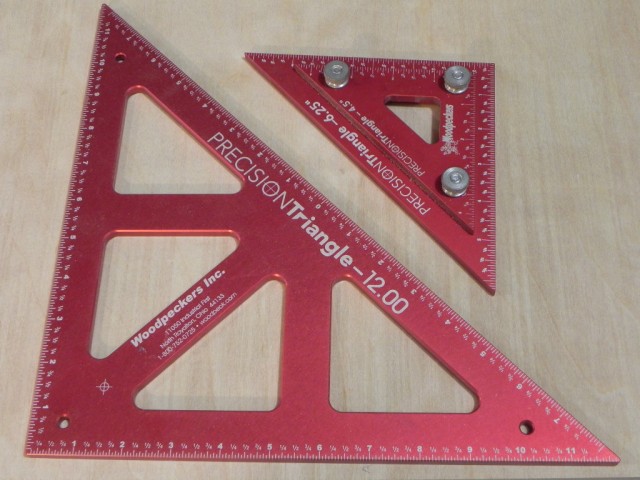
Triangles are a tool I don’t use that often, but when I do, I need them to be as accurate as possible. I’ve used everything from machinists triangles, to drafting triangles, but eventually I settled on the small collection of Woodpeckers Precision Triangles shown below. I’ve used them for everything from making mitering jigs, to setting the table saw blade angle, to helping square up work. While they aren’t cheap, they are by no means expensive, and they are more than accurate enough for any woodworking task with an accuracy of 0.001″ per foot.


